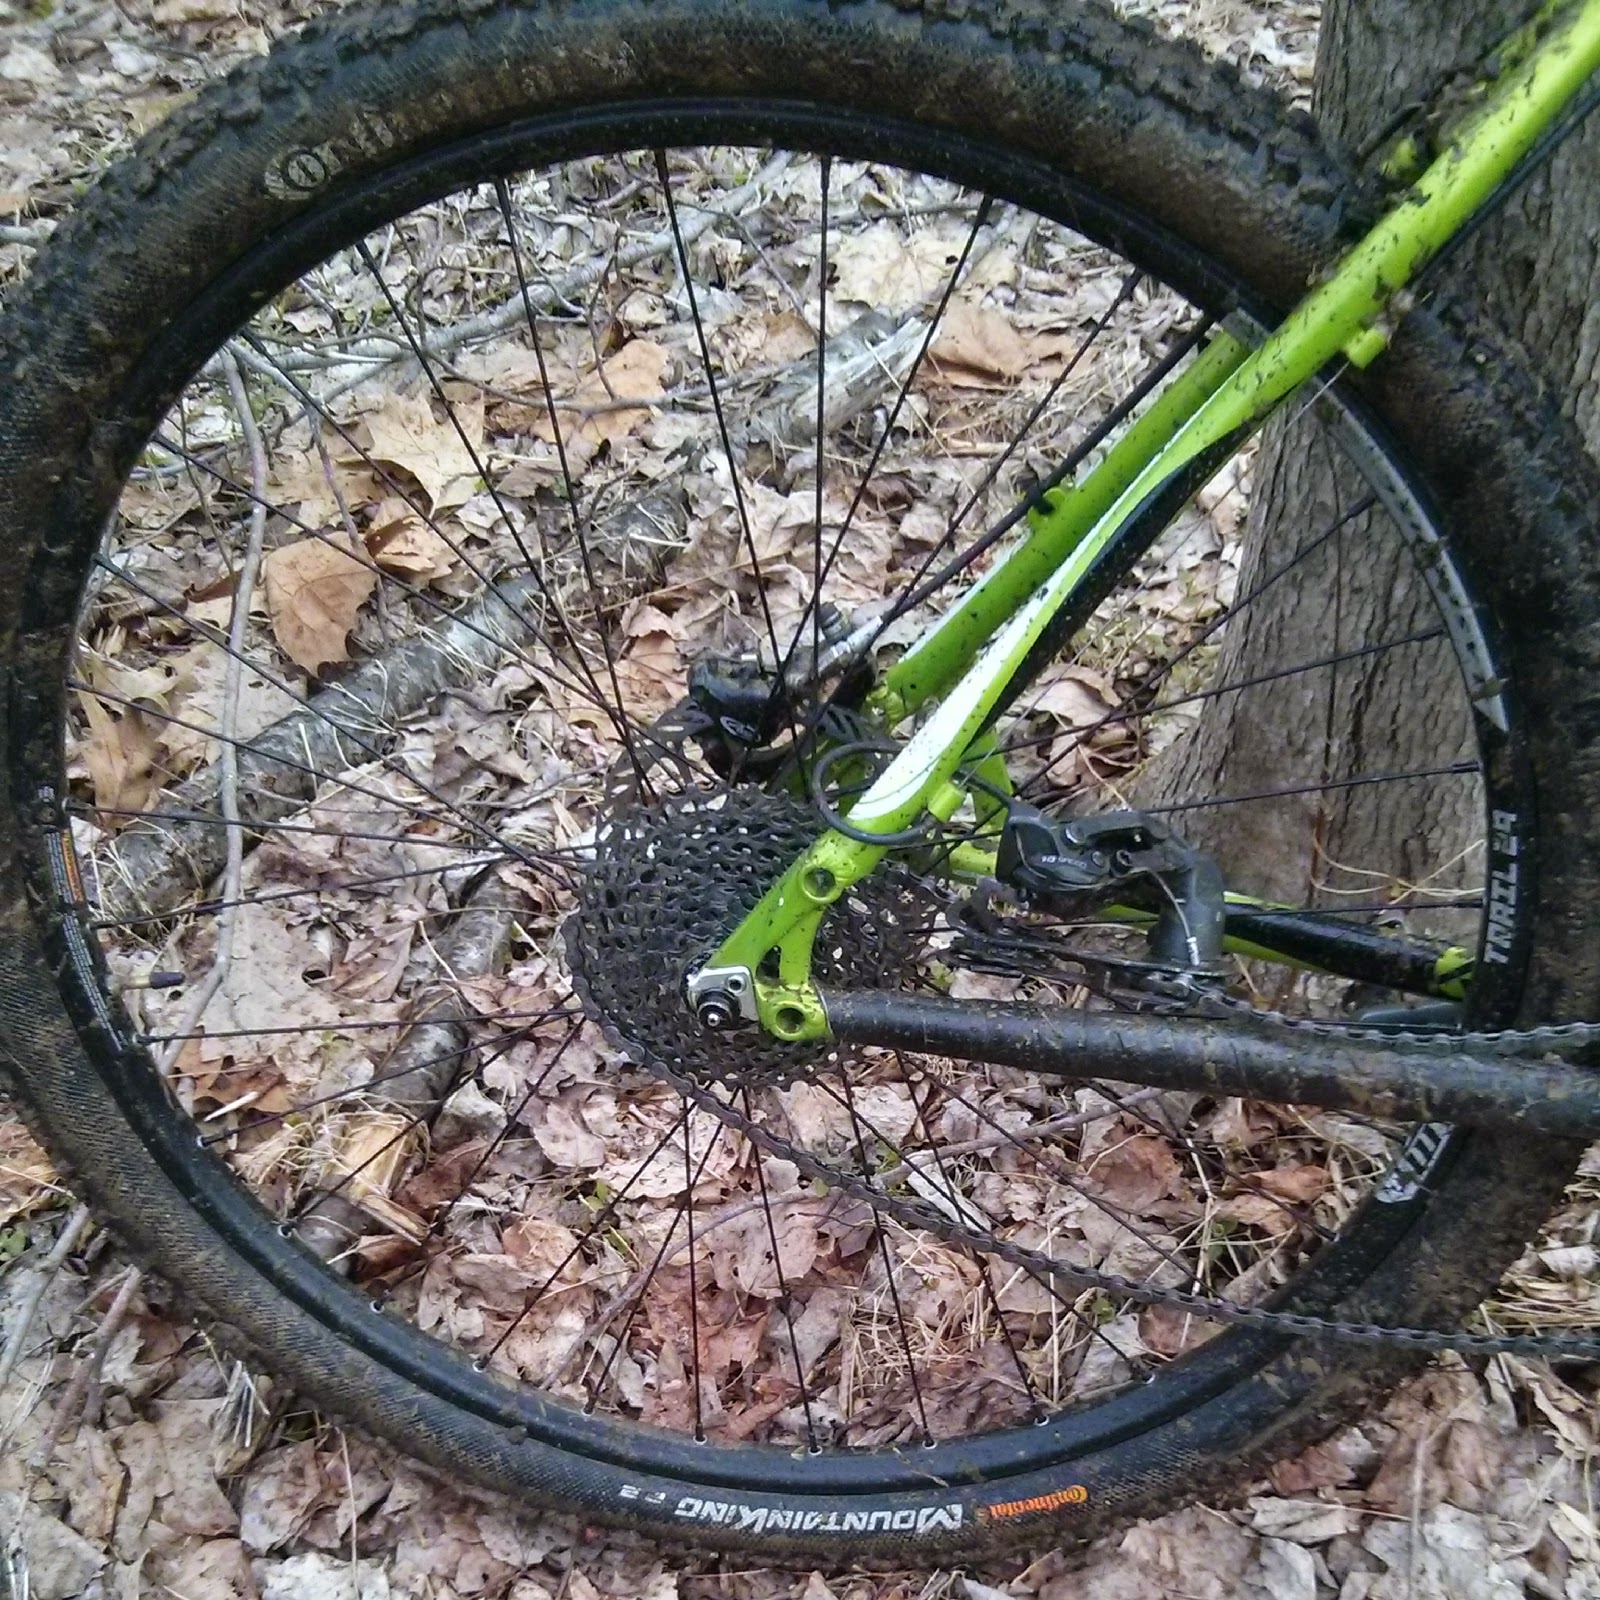
My bike is a 2011 model that is slowly getting the stock items replaced and upgraded as they wear out.  I'm now at the point where the bike only has a few stock components remaining as I continue to rack up the miles on my Airborne Goblin.  One of the last survivors from stock status is the SRAM X7 crankset.  The crankset its self is still in pretty solid shape however the chain rings are pretty much done.  unfortunately this particular X7 crankset is the s1400 version which is supplied with an 120BCD spider for the big ring and 80BCD for the small ring, anyone who has been in the same position and looked for replacement rings at 120bcd will be able to attest that options are extremely limited.

This got me thinking and looking around at several options, in particular I'd been reading that there was lots of love for a 1x10 set up.  So as I like to be a fairly early adopter I began hunting around for the parts I'd need to make this happen.


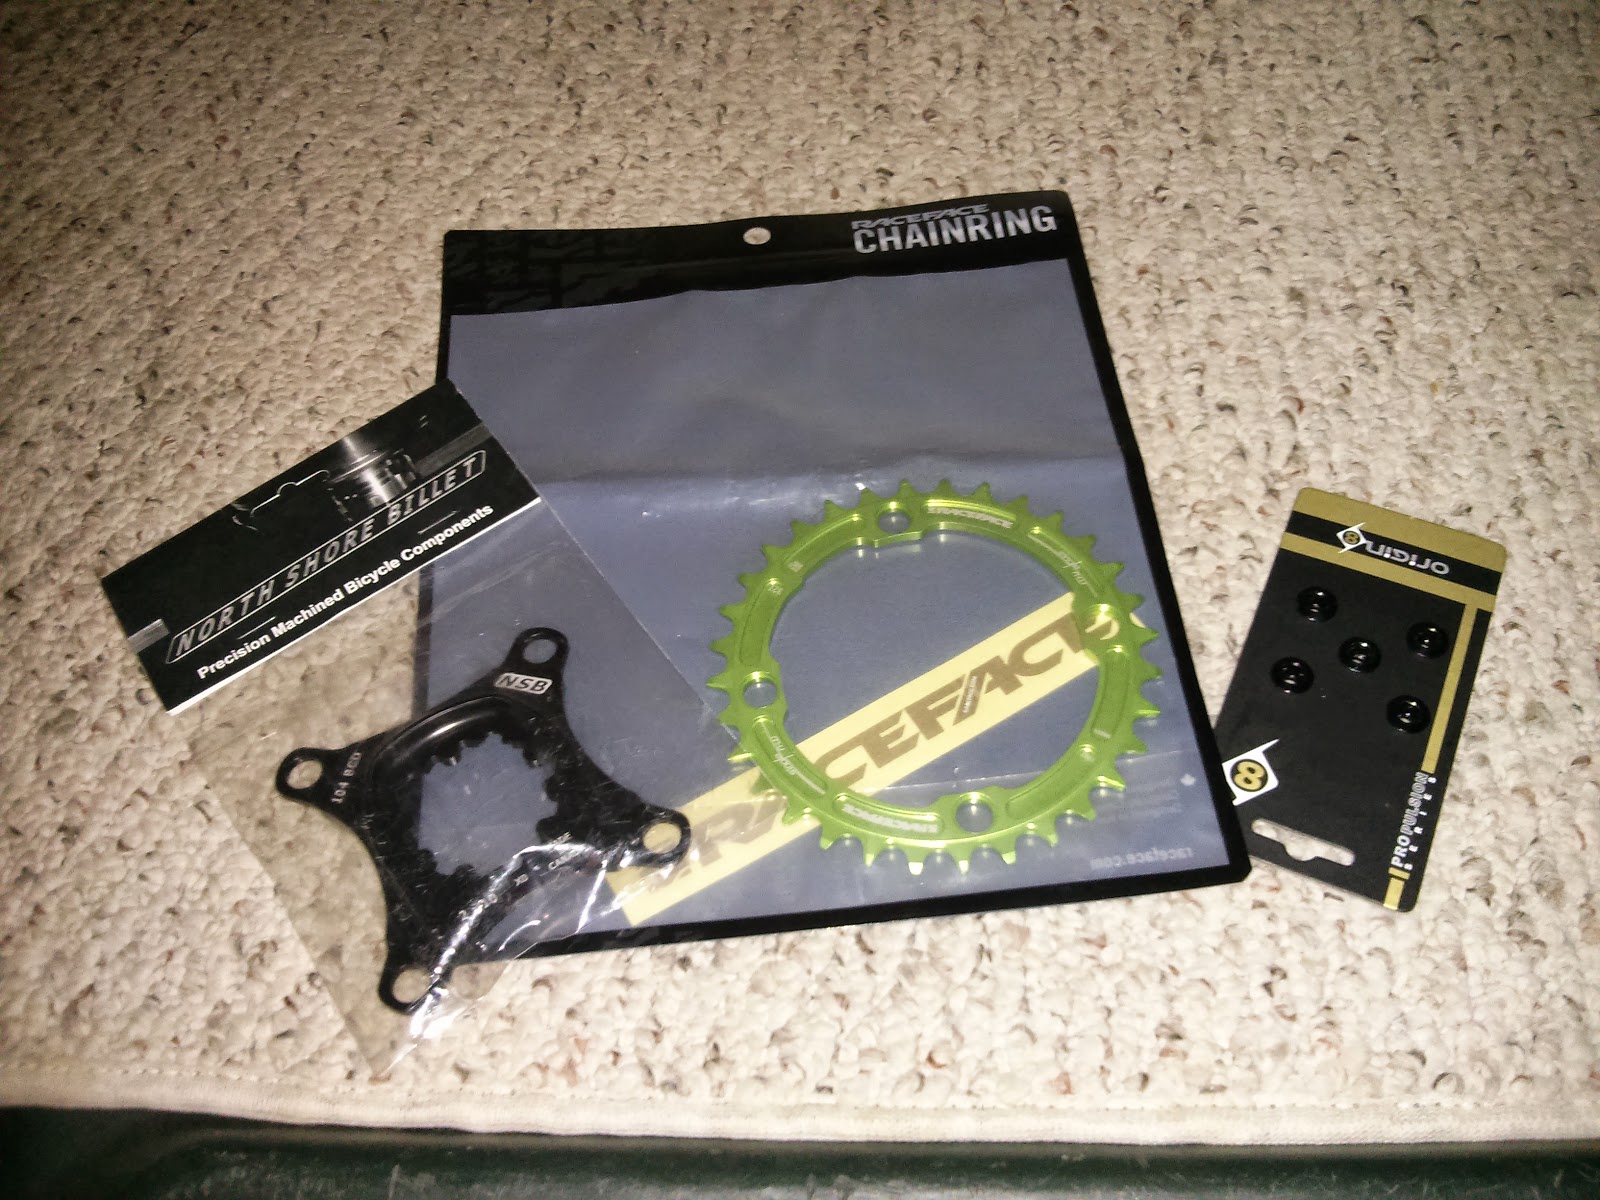
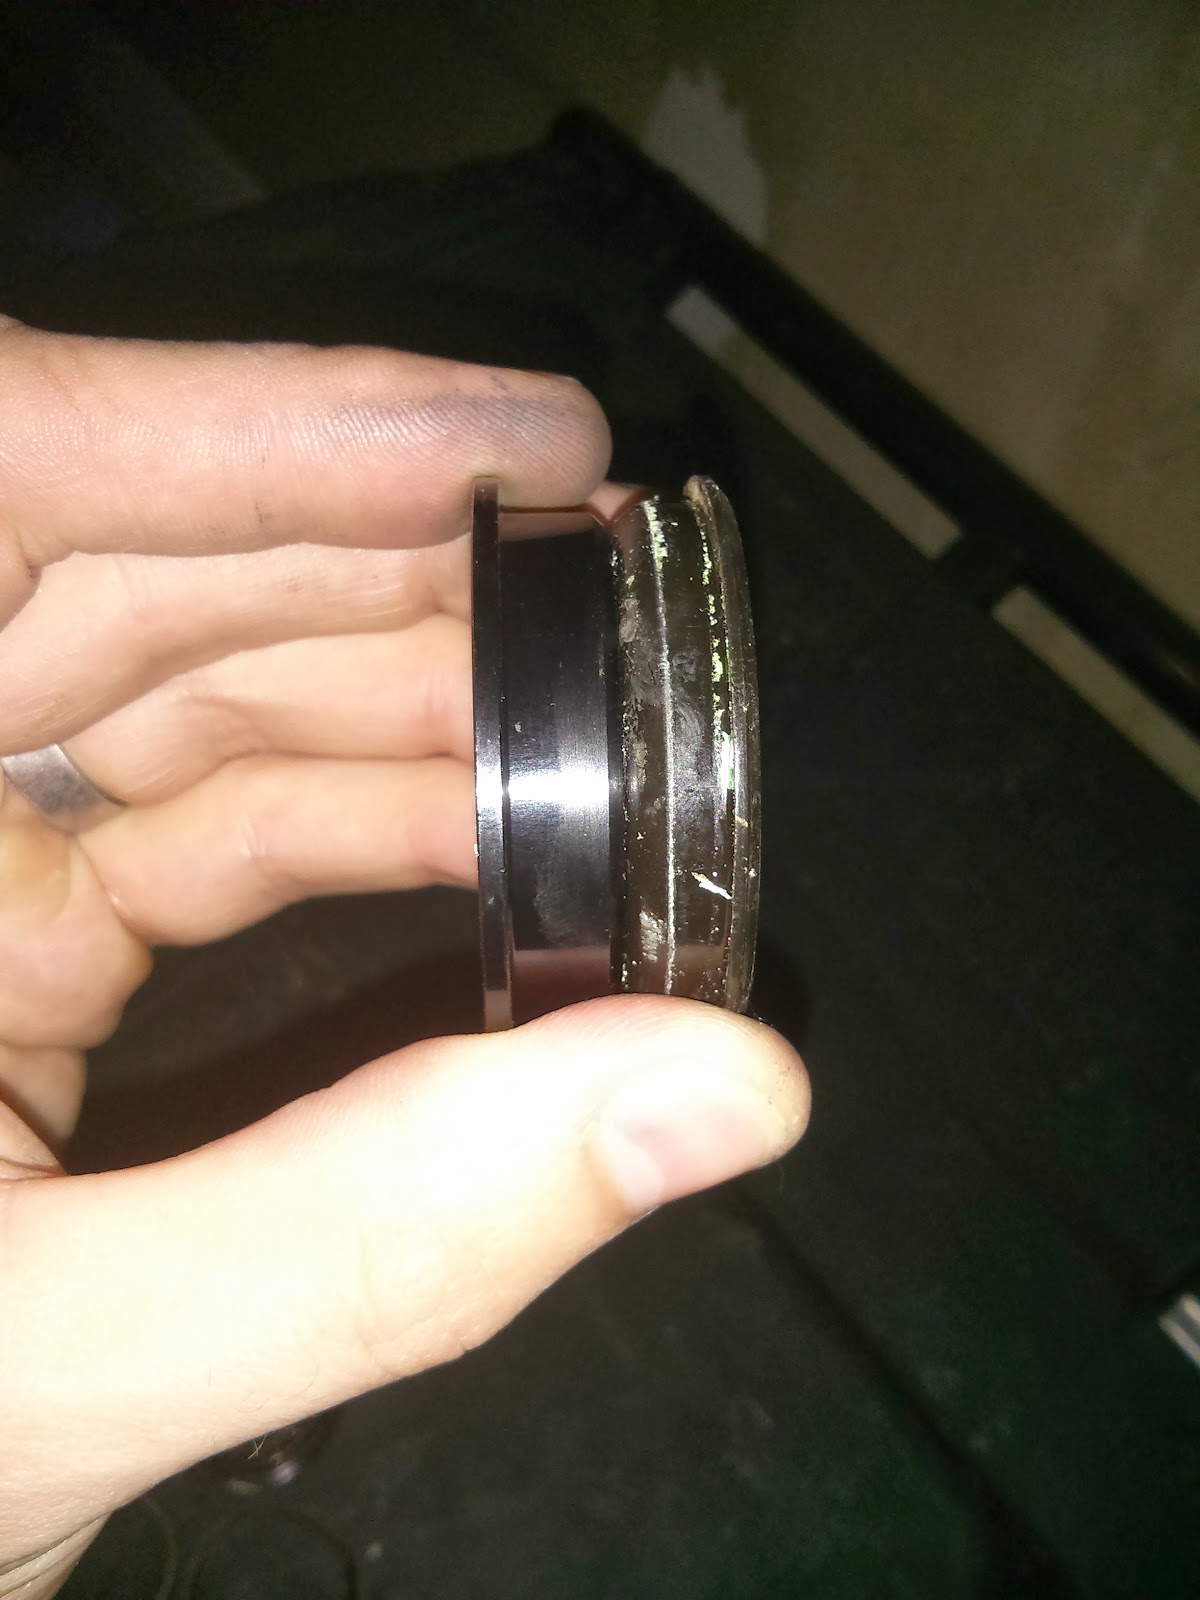
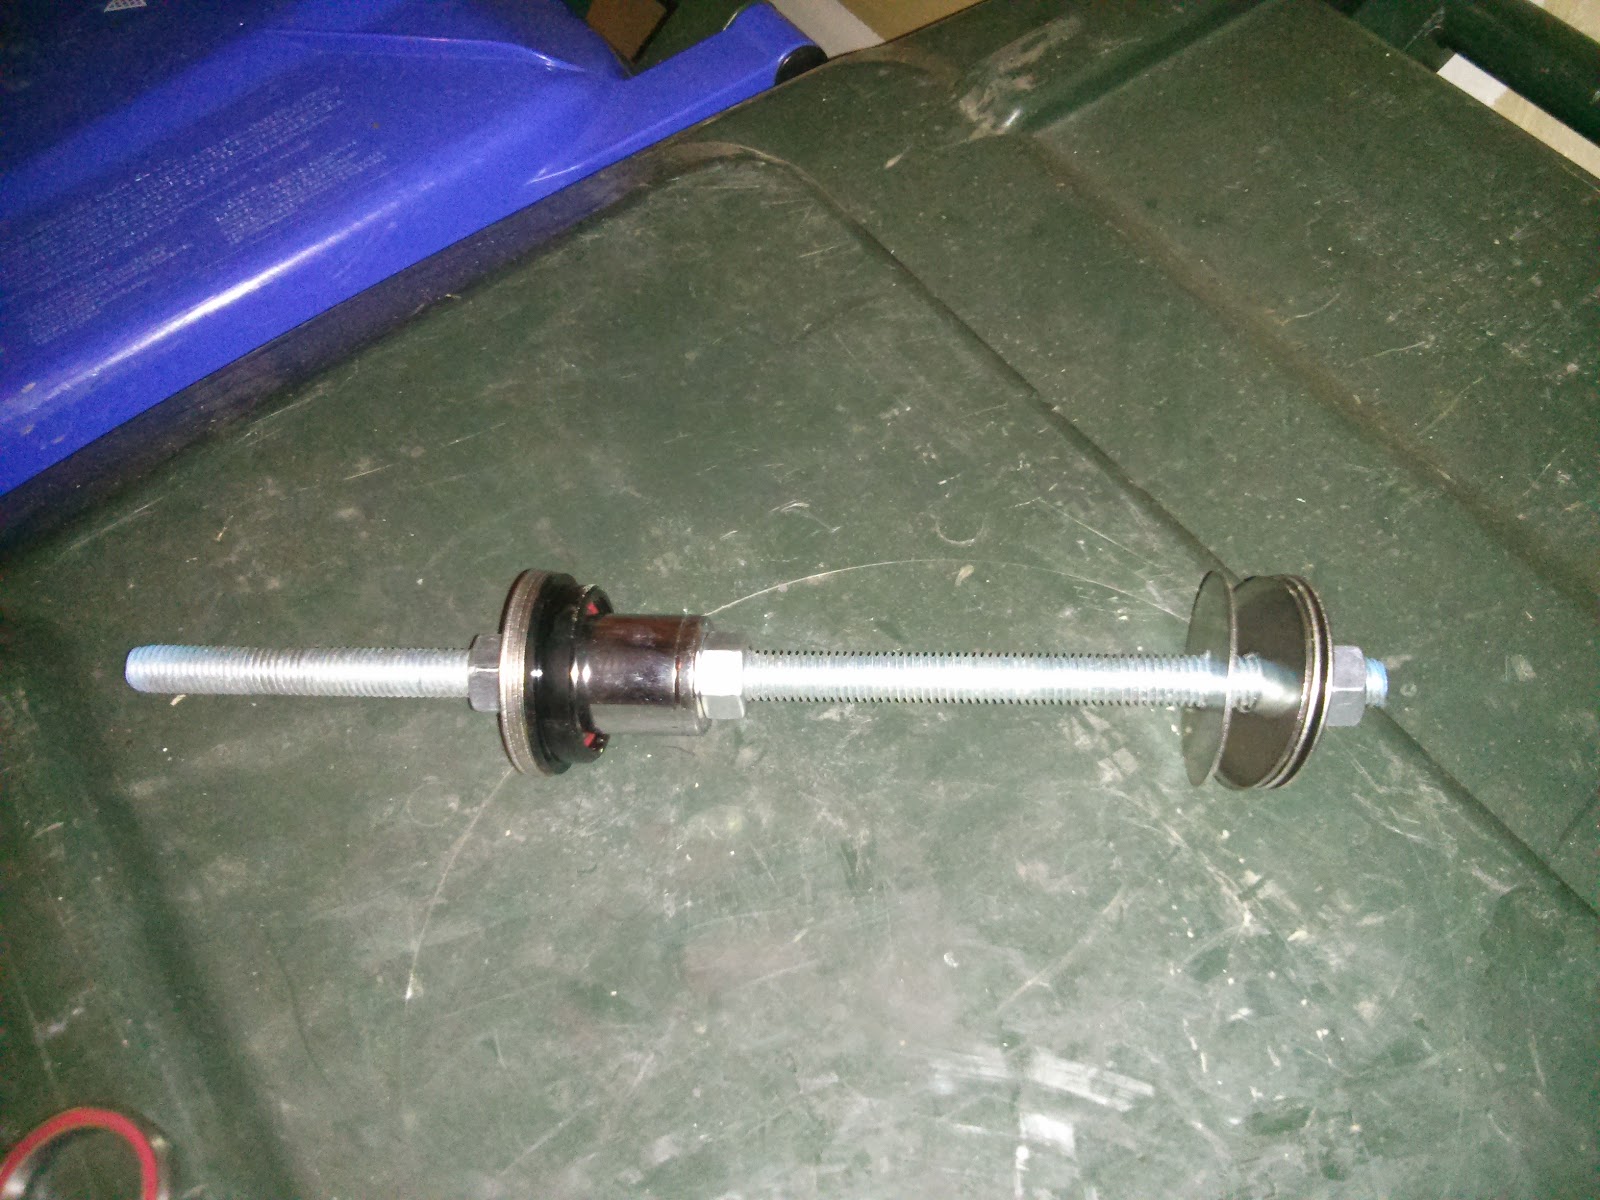
There's lots of great options out there but for 120BCD they come at a premium I did however come across a replacement spider for my crankset from North Shore Billet.  This is a direct replacement for the 120/80BCD spider and converts it to 104/64BCD making it much much easier to find replacement rings in future.  There are options to use a ring without any spider specifically for SRAM cranks however in case I ever want to go back to 2x10 I wanted to maintain the flexibility.


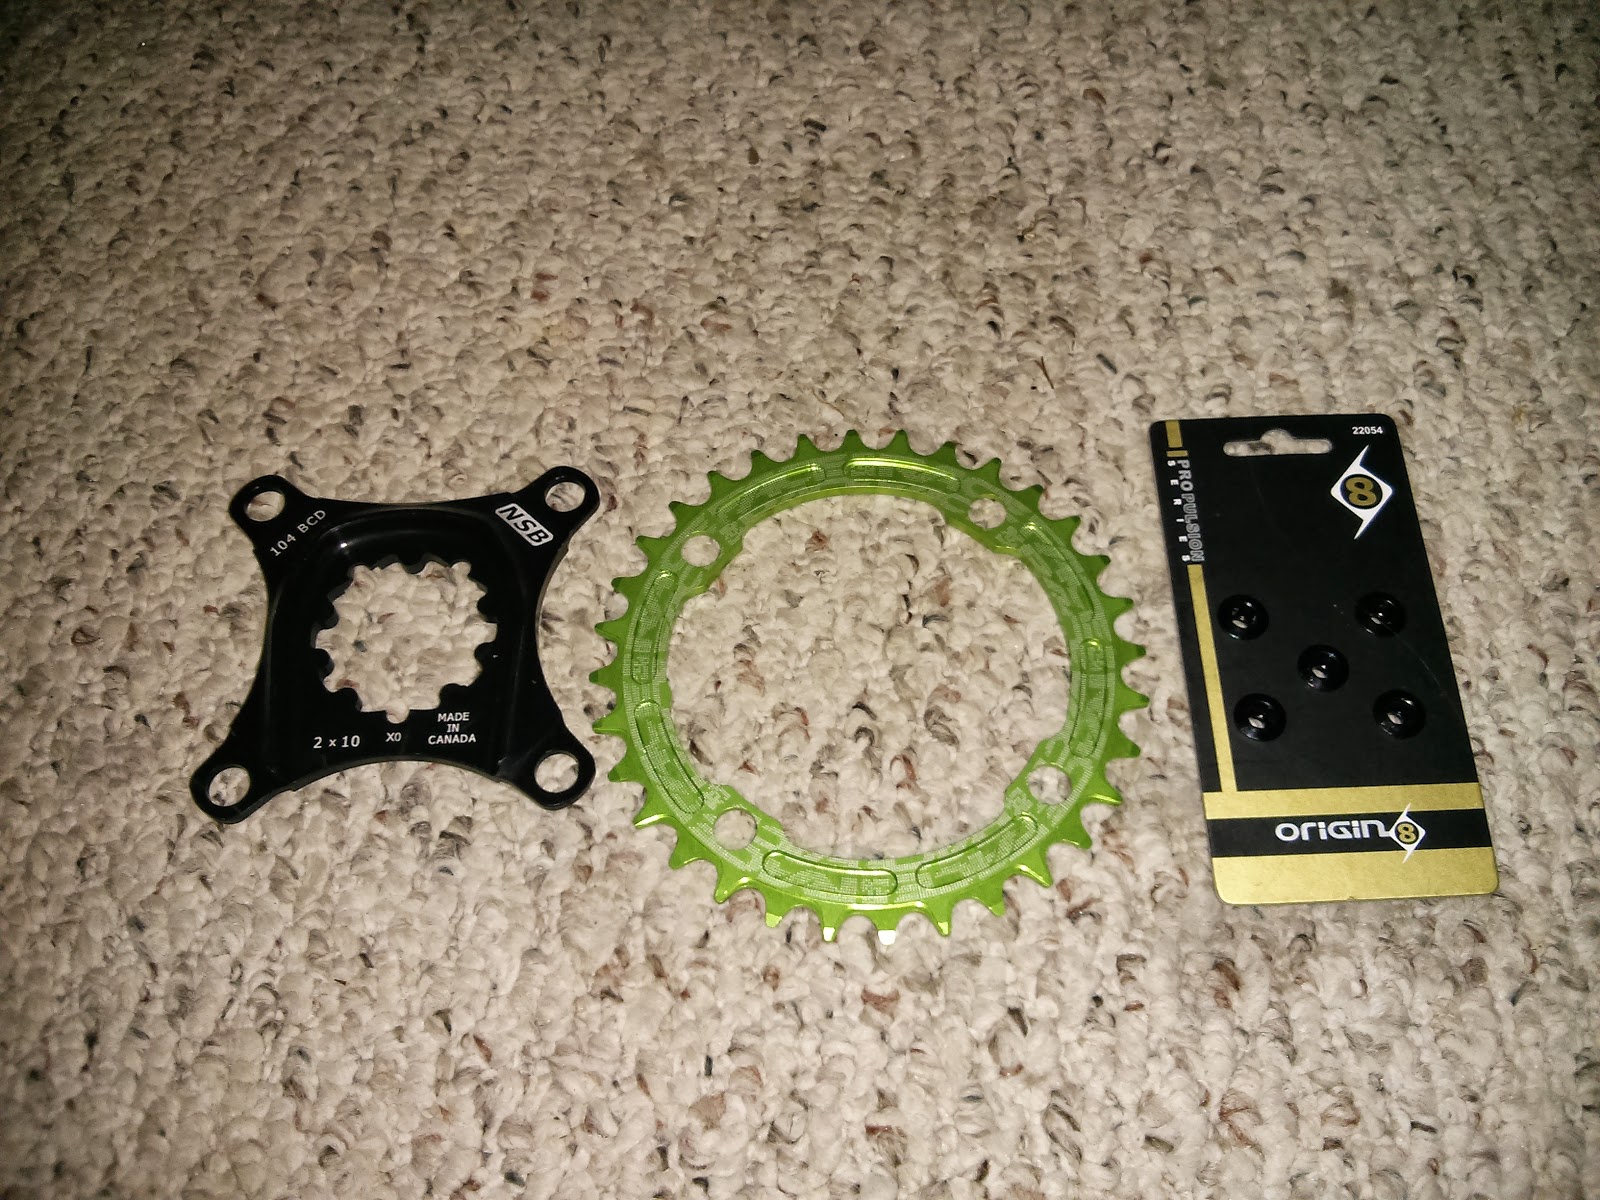
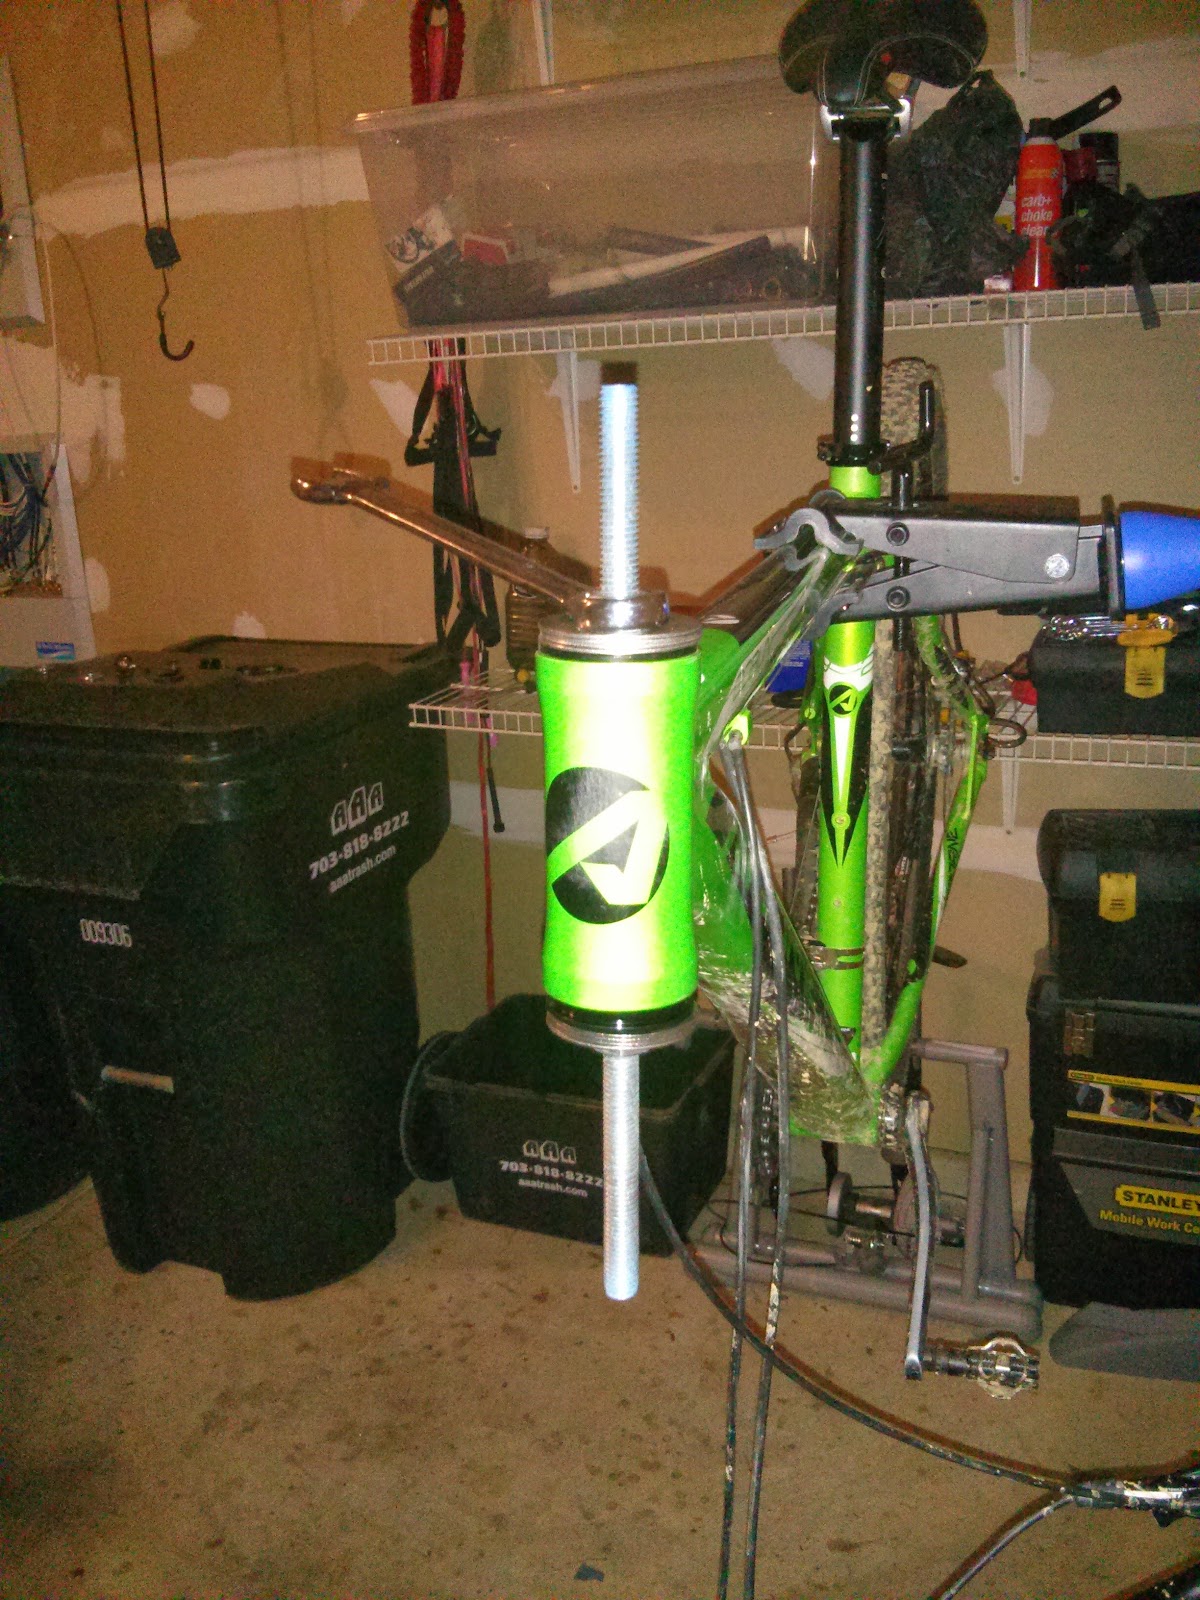
Outside of the crankset It seems all the love is for Race Face Narrow Wide or Wolf Tooth rings with many more reviews for the race face items.  As a starting point I chose to go for 32T fearing that anything smaller would having me spinning out too often and anything larger would leave me lacking on some climbs.  The Race Face rings also come in an array of colors and not having too much bling on my bike I opted to go with the green.  All tied together with black chain ring bolts from Origin 8.


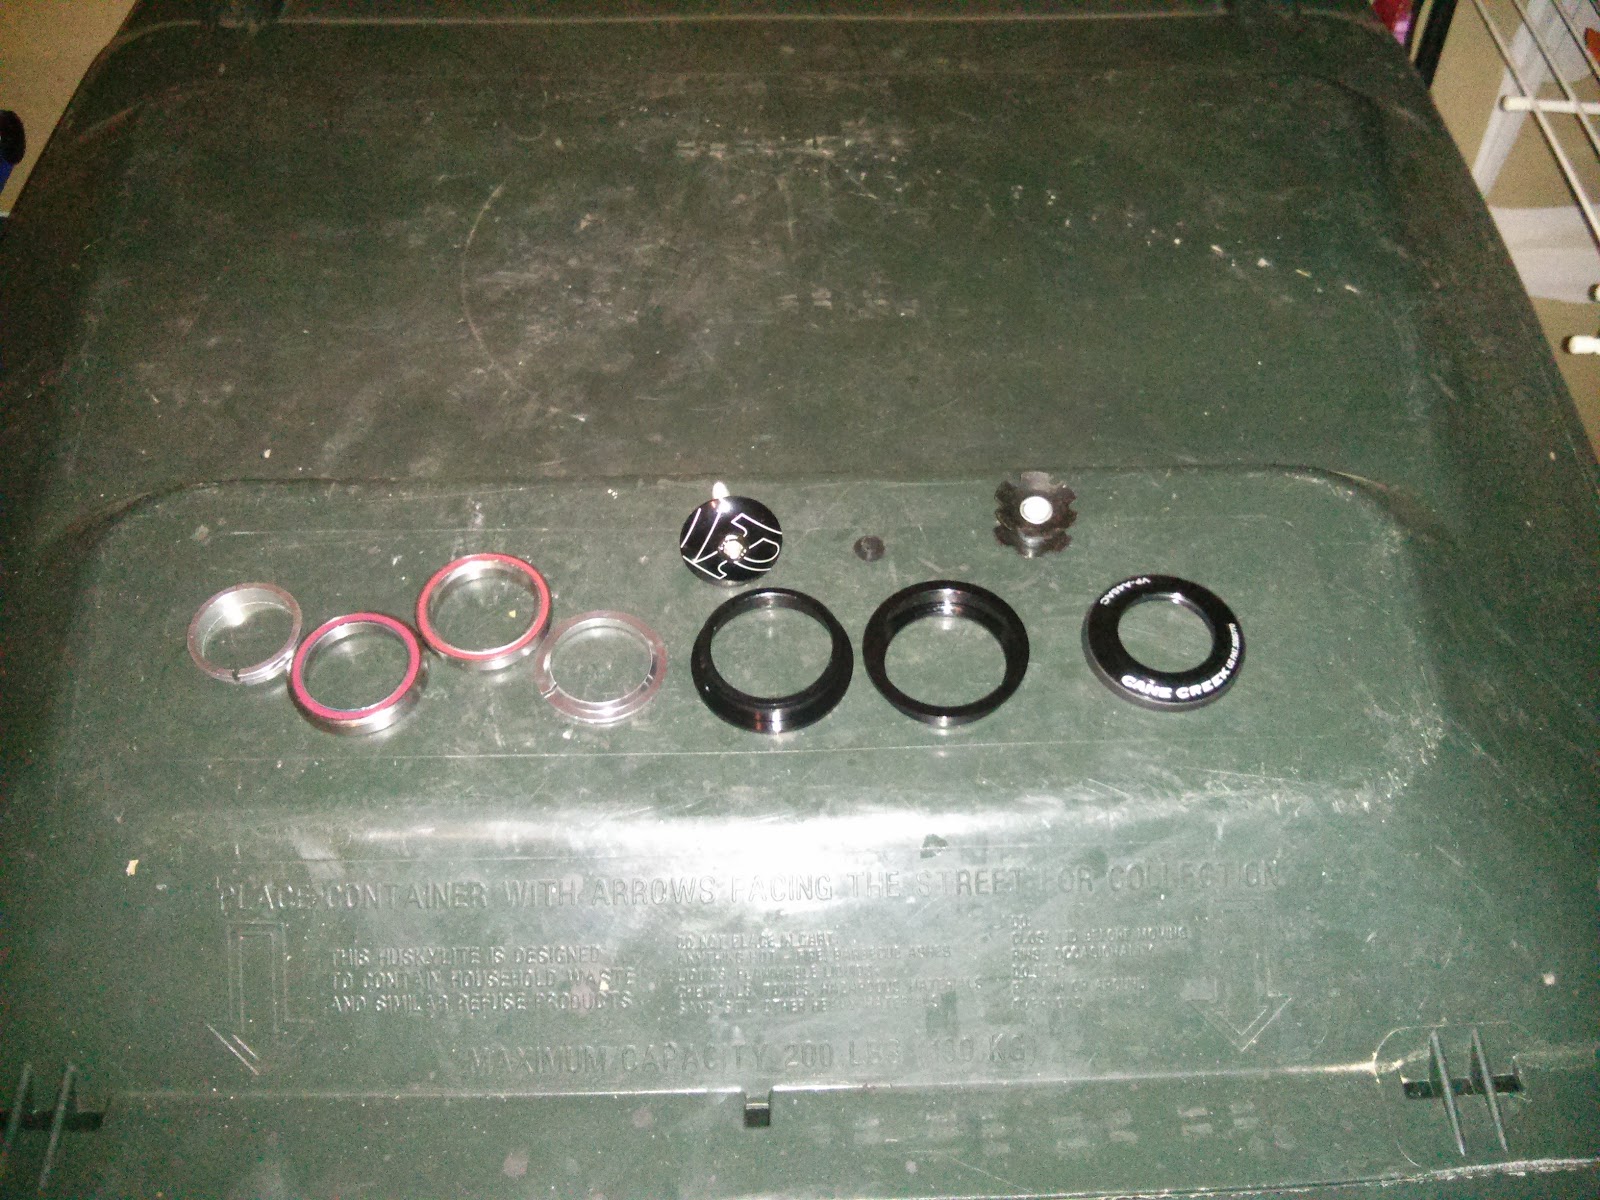
Removal of the original SRAM spider is a fairly straightforward process as its held onto the crank by three small Torx bolts on the inside of the chainrings.

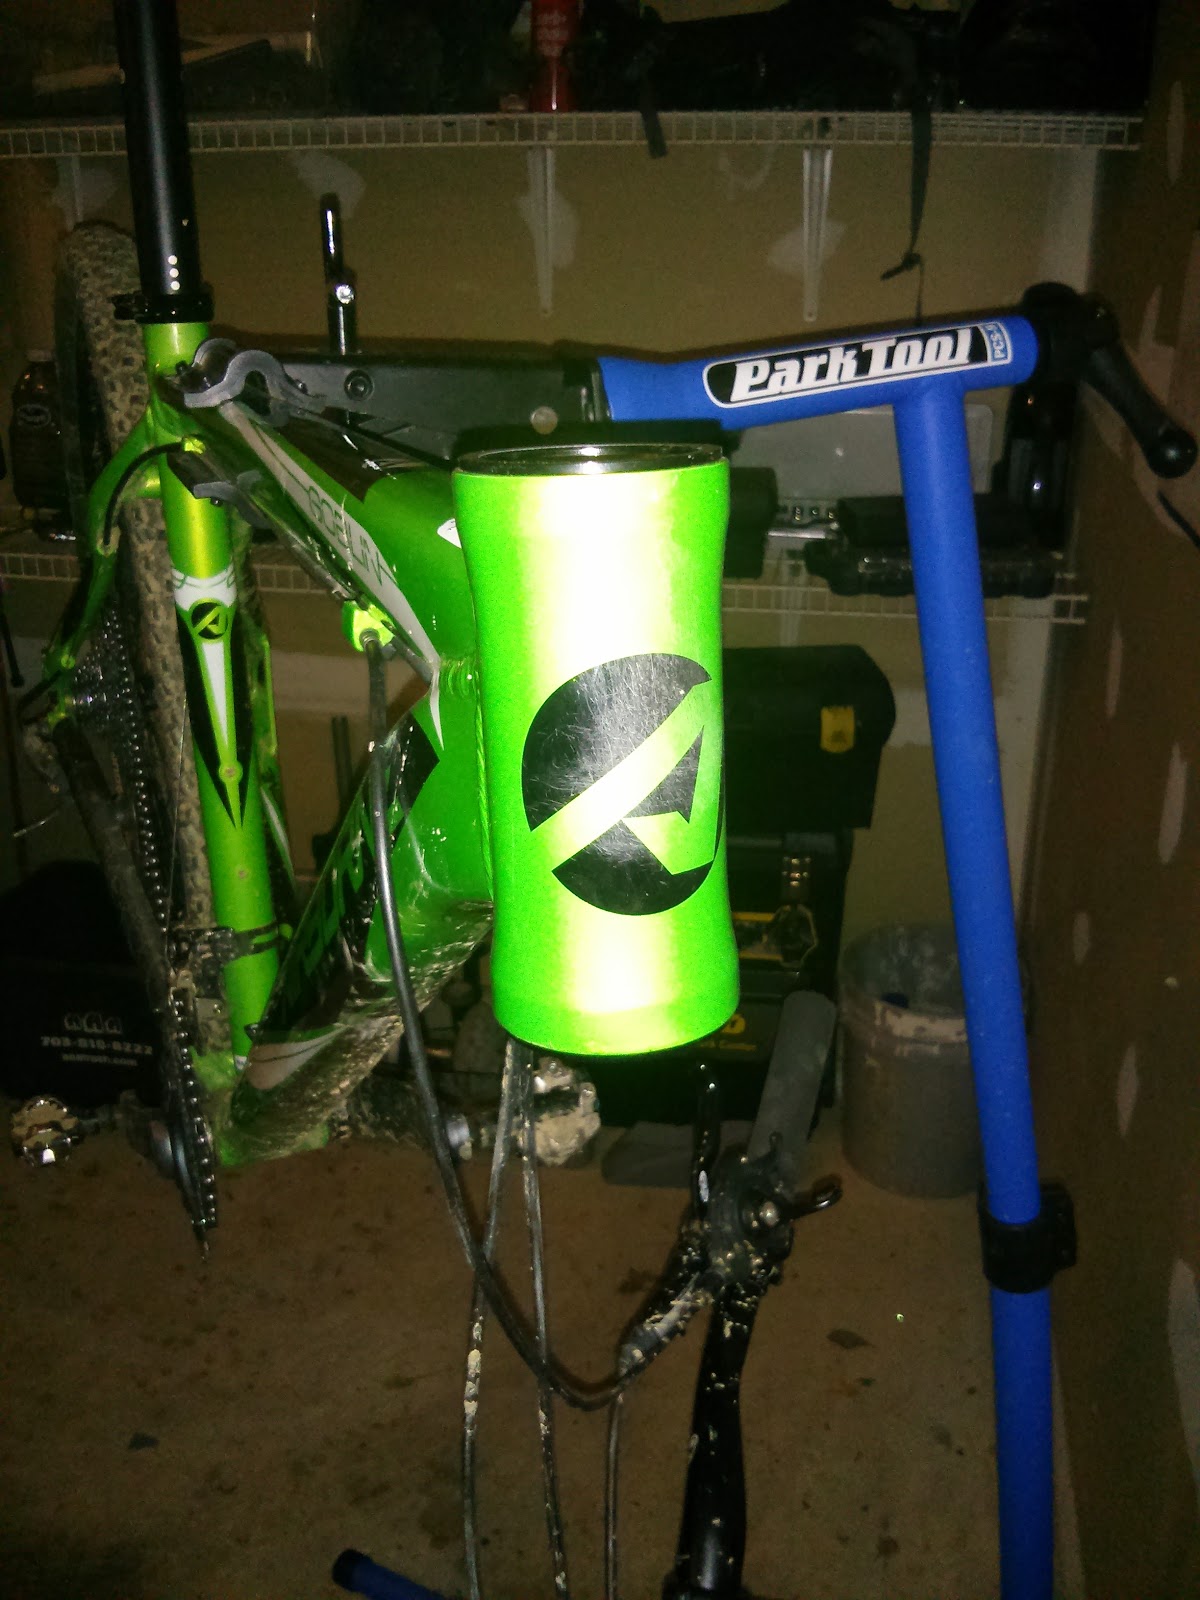
Cleaned up crank arm with NW ready for install back on the bike

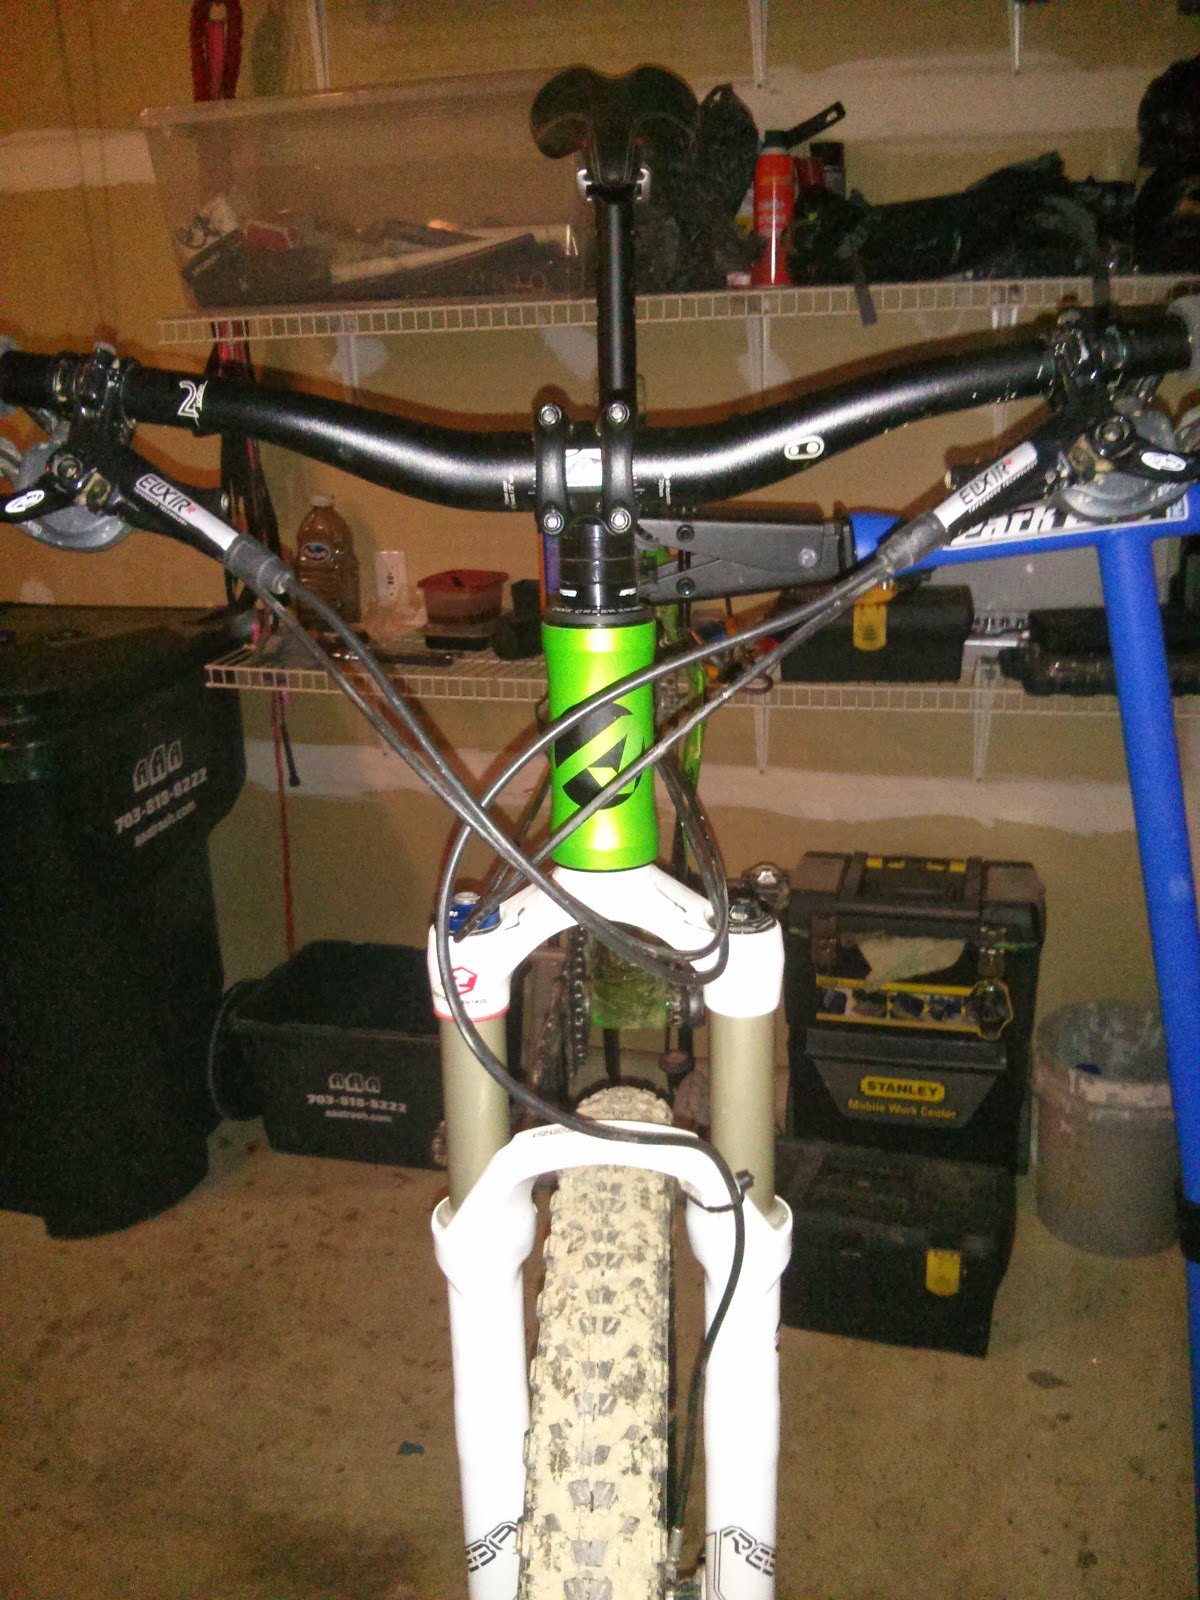
With the crank back on and the new ring in place its time to go ride!  Since starting the post I've got 3-4 rides in and have to say it performs extremely well.  The NW ring is definitely quieter than the worn chain rings it replaced and chain retention so far has been great, there's not even been a suggestion of a dropped chain.  Its recommended to run these rings with a clutch rear derailleur, however, so far so good with my standard SRAM X9!  Its also strangely liberating only being able to change gears with one shifter, never mind the weight savings.

Here's to many more miles of fun.


Eat My Dust

I'd pretty much got the Airborne Goblin to the point where I wanted it, it suited my riding style and the fit was dialed in.  As I'm sure is the case for many of the other cyclists, one of my favorite hobbies is to scour the local classifieds on a regular basis seeing what can be had for a cut down price.

I logged in as usual on Saturday morning and saw this Niner EMD frame in moon dust silver and in my size (large).  I literally couldn't resist, this is not the latest EMD frame however I believe its dated around 2011, the frame was as new, boxed and never built up.  The seller had bought it as a project but not got round to completing it.  Having always looked at those guys riding a Niner with a little envy, I had to jump at the chance to own the frame when is cost was approximately 1/3rd of the price when new.  The great thing about the frame in comparison to the Airborne Goblin is that the only thing which is different and I'll have to source is the headset, everything else will be a straight swap.


I'll post back here as I make progress with the swap, thanks for reading!
As much as we all enjoy our sport we know that there's an element of risk, thankfully this is a story which ended in minimal rider injury however the same could not be said for the bike, which suffered catastrophic failure.

This happened to my cousin back in the UK while out riding solo in the Whinlatter forest area of the Lake District coming down a steady descent.  He told me he'd been tearing it up until that point and hit a small 2 foot drop.  Upon landing both chainstays on his early 2000s Specialized FSR snapped completely.  Thankfully he said he suffered no more than a few scrapes on his elbows and knees, but the same could not be said for the bike.


Hopefully it won't be too long before he's back out on the trails however clearly he's got some work to do to repair his frame, or maybe he'll use the excuse to buy something new.

Ride safe!
One of my favorite riders to watch is Danny MacAskill.

Check out his latest ride vid in conjunction with GoPro through the streets of Glasgow.

The Mavic Pulse MTB shoes were a Christmas present for me and a cost effective step up from the Specialized Primo MTB shoes I'd purchased off of eBay to dip my toe into the clipless waters.

Some of the main things I had on my priority list when looking for a new shoe was something that would be lightweight, durable and functional on the trail.  The shoes close using a 3 strap Velcro system and despite some other manufacturers inconsistent sizing, actually fit pretty true to size with plenty (but not too much) room across the toe box.  I like to get a snug fit and when pulling the Velcro straps across, but the fittings do feel a little flexy, particularly across the top strap, but I understand at this price point a ratchet system is not readily available.


Sole wise, it feels nice and stiff and there are no complaints there, the cleat plate provides the usual 4 screw holes to provide good adjustment options and most importantly when clipping into pedals there's more than enough clearance from the tread.  The tread also offers enough thickness so that the cleats don't touch the ground when not on the bike and walking.


The shoes have several mesh panels to allow for ventilation however beware if riding in wet conditions as this affects any waterproofing ability, this means that the first creek crossing of any ride often ends up in soggy feet for the next few miles.

Overall these are a solid shoe at an impressive price point and one that I'd definitely purchase again.
Having had the Kona Kapu a couple of weeks now I'm pretty pleased by the way it rides however the way it looked was not the most easy on the eye, and a few simple tweaks could refresh it substantially.  The parts I wanted to switch out were seat post, saddle and bar tape.

Kano Kapu before
Seat post and saddle before
My cousin back in the UK does a lot of road riding and he is constantly raving about the company Planet-X and they ship to the US.  I headed across to their website And picked up their sportive ultra saddle and also an On One seat post (their MTB brand, but fits pretty well with Kona).

Seat post and saddle after
Bars and stem before

The first step was to remove the tired old red bar tape.  When installing new tape I always gravitate towards black as no matter what color your bike it will always look good and not show up dirt easily.  One thing that had been bothering me about the Kapu is that the previous owner had routed the cables at the back of the bars which made it pretty uncomfortable when riding and holding the bars at the top.

Cables routed at the back of the bars
The bars that came with the Kapu had grooves in both the front and back for cable routing, making it easy to switch the cables to the front.  Its always good to be generous with the electrical tape here as it won't be seen once the bars are freshly wrapped and you want to be sure that the cables won't move around.


Cables re-routed on the front of the bars
The final step was to wrap the fresh bar tape, this is something that is pretty easy to do however I would always recommend that you take your time, and if something doesn't quite look right, do it again.

I like to start right at the bottom of the bars, overlapping as I go, ensuring that its a tight wrap.  When you get to the levers pretty much all packs of tape will come with 2 small sections that will stick across the back of the levers, this ensures that when you are wrapping this area there's no gaps (you may notice that with the old red tape this hadn't been done and you good see the bars at the levers).  Try to get the tape to end at the same point in the center of the bars on each side and secure with some electrical tape.  The final stage is to pop in the end plugs.  I opted to toss the silver ones that came with my tape and use some black ones I had lying around to keep with the theme.

The final result
Overall I'm really pleased with the new look and for such a minimal spend it really shaves a few years from the look of the bike and sets it up for the next 1000s of miles.


One of my biggest gripes about the Airborne Green Goblin was the headset any sign of damp or water and the thing stiffened up and made the steering less than smooth.  With my Goblin being a 2011 version, the stock headset would be coming up 3 years old so it was due a change.  The stock headset is integrated however with increasing popularity of tapered head tubes mean that there aren't lots of options available for replacement.  I did manage to grab a cane creek headset from eBay in the correct spec and at first glance it looks a solid part, complete with removable sealed bearings.

The new headset with removable bearings
You can instantly see the difference between a nice shiny new part and the old well used part.  Removal of this type of headset is pretty straightforward and you can buy specific tools such as the Park Tool Head Cup Remover . However i found a couple of sharp taps with a flat headed screwdriver at the right angle ensured the cups dropped out without issue.


Old headset, grubby and full of dirt

Old vs New bearing cups
Now you can also buy your own headset press, but there's not much fun in that.  So I wanted to create my own a trip to home depot helped me find a 1/2 inch rod, a few nuts and some large washers, I also decided to use a socket to ensure that the cup lined up perfectly.  Its best here to install one cup at a time, otherwise trying to do both together can cause them to move around and be difficult to align correctly.

DIY headset press with socket for alignment
During 
After


All back together
Once lined up and set, the process took around 30 minutes in total to remove the old headset and press in the new with a let extra time for removal of the bars and forks either side of that.  I'm pleased to say that instantly the action is much smoother with no grinding and the bike is handling much, much better!


You may recall a few weeks ago my derailleur hanger sheared throwing the rear derailleur up into the wheel and causing me to do a quick trail bodge and single speed it all the way back to the car.

Derailleur tangled in wheel 
Thankfully the damage wasn't too bad, there is a slight bend in one of my spokes which I'll replace over time, however the cage of the X7 derailleur got bent.  I was able to straighten it out back at home and make it functional.  I had however been eyeing an upgrade for some time and this gave me the perfect excuse.
SRAM X9 rear derailleur, KMC Chain & new cable


The X7 derailleur had been a good servant however wherever possible when something breaks I try to replace it with something at least a step up and there was only $10-15 difference between the X7 and X9 I went for the X9.  With everything apart it made sense to install a new cable, I also sourced a new 10 speed chain.
The finished install in all its glory

All is now well with the world and I'm ready to get back on the trails!  I'll keep the updates coming as I get a feel for the performance of the X9.

OK so a few of you will have noticed its been a while since my last update, April was a crazy month!  Starting a new financial year at work and also squeezing in a couple of vacation trips, things have been hectic to say the least.

On the positive side, I managed to complete my 30 days of riding quest although days 29 and 30 were a lot less glamorous than others day 29 was on the trainer and day 30 in the gym.

I am however very pleased to report that the month's exercise has stood to really concrete my love of cycling and shaved 5lbs off my weight!

Stay tuned for more posts soon.