Cool video from Specialized - launching their 20" and 24" fatbikes.
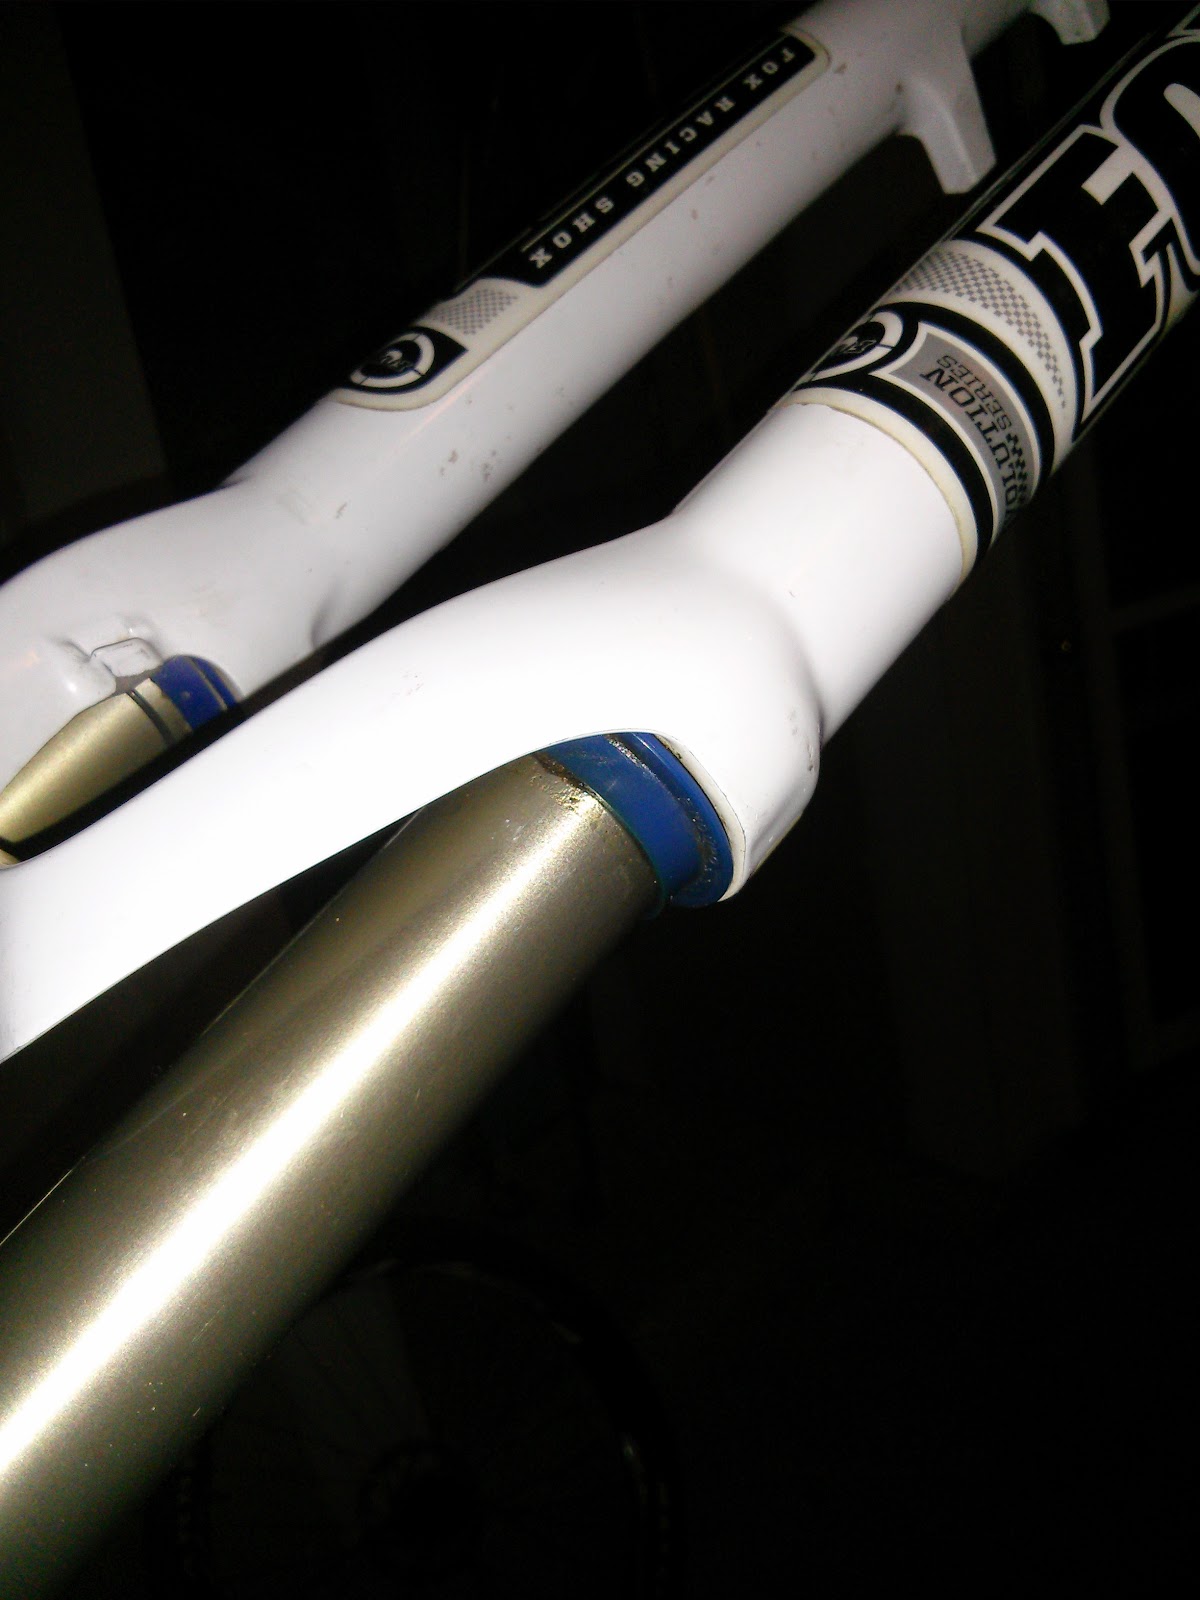
Although I'd been pleased with my new forks, there's always a risk when buying used that they won't be in tip top condition. Unfortunately after a couple of rides its was clear that an excessive amount of oil was leaking from the seal on the stanchion of the right leg. Now although this was a nuisance its not too expensive or indeed difficult to replace the seals. Which for a fork with 32mm stanchions can be picked up for around $25 a set.
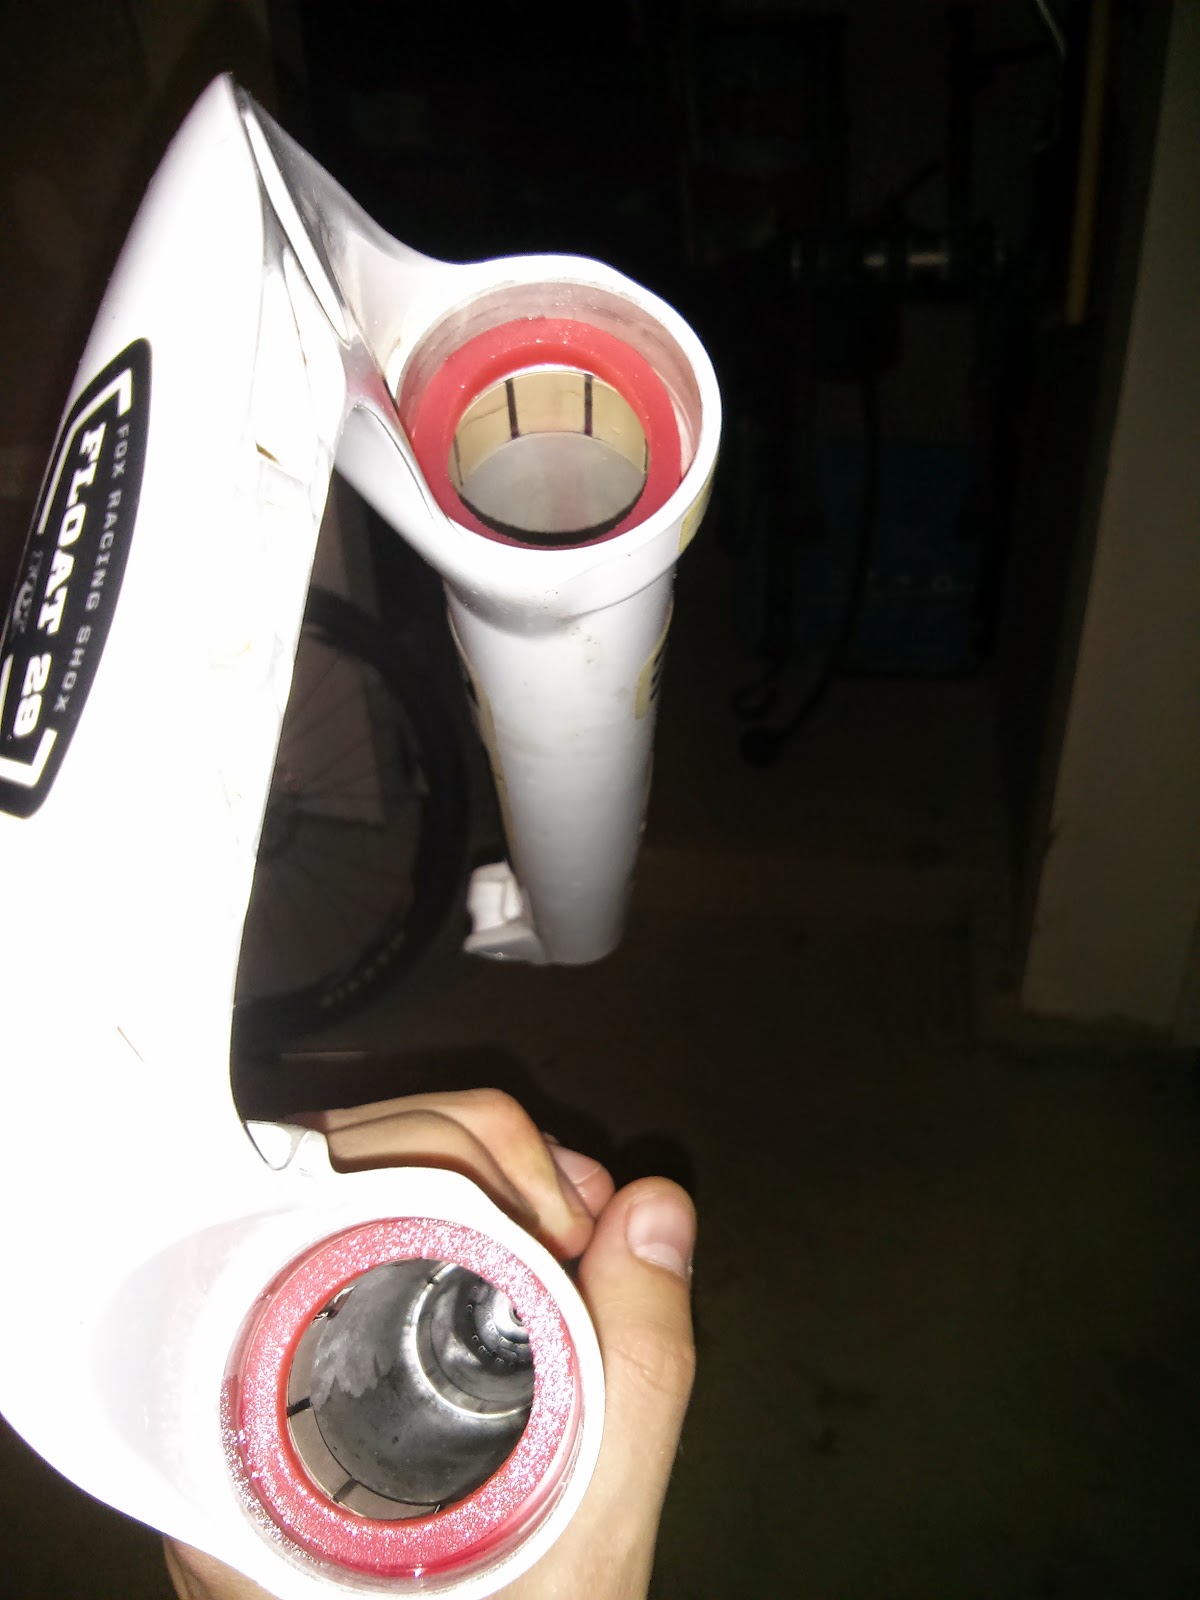
Just to illustrate the problem you can see from the below picture there's a lot of gunk and oil seepage around the seal on the right stanchion.
Whilst removing the lowers its a good idea to soak the new foam in oil ready for installation.


With the lowers cleaned you can place the new foam inserts.
The oil is then added to the lowers and the final step is to push them back together, again exposing the threads add the small plastic crush washers and then using the 10mm socket tighten everything up.
Here's my guide on how to replace the seals
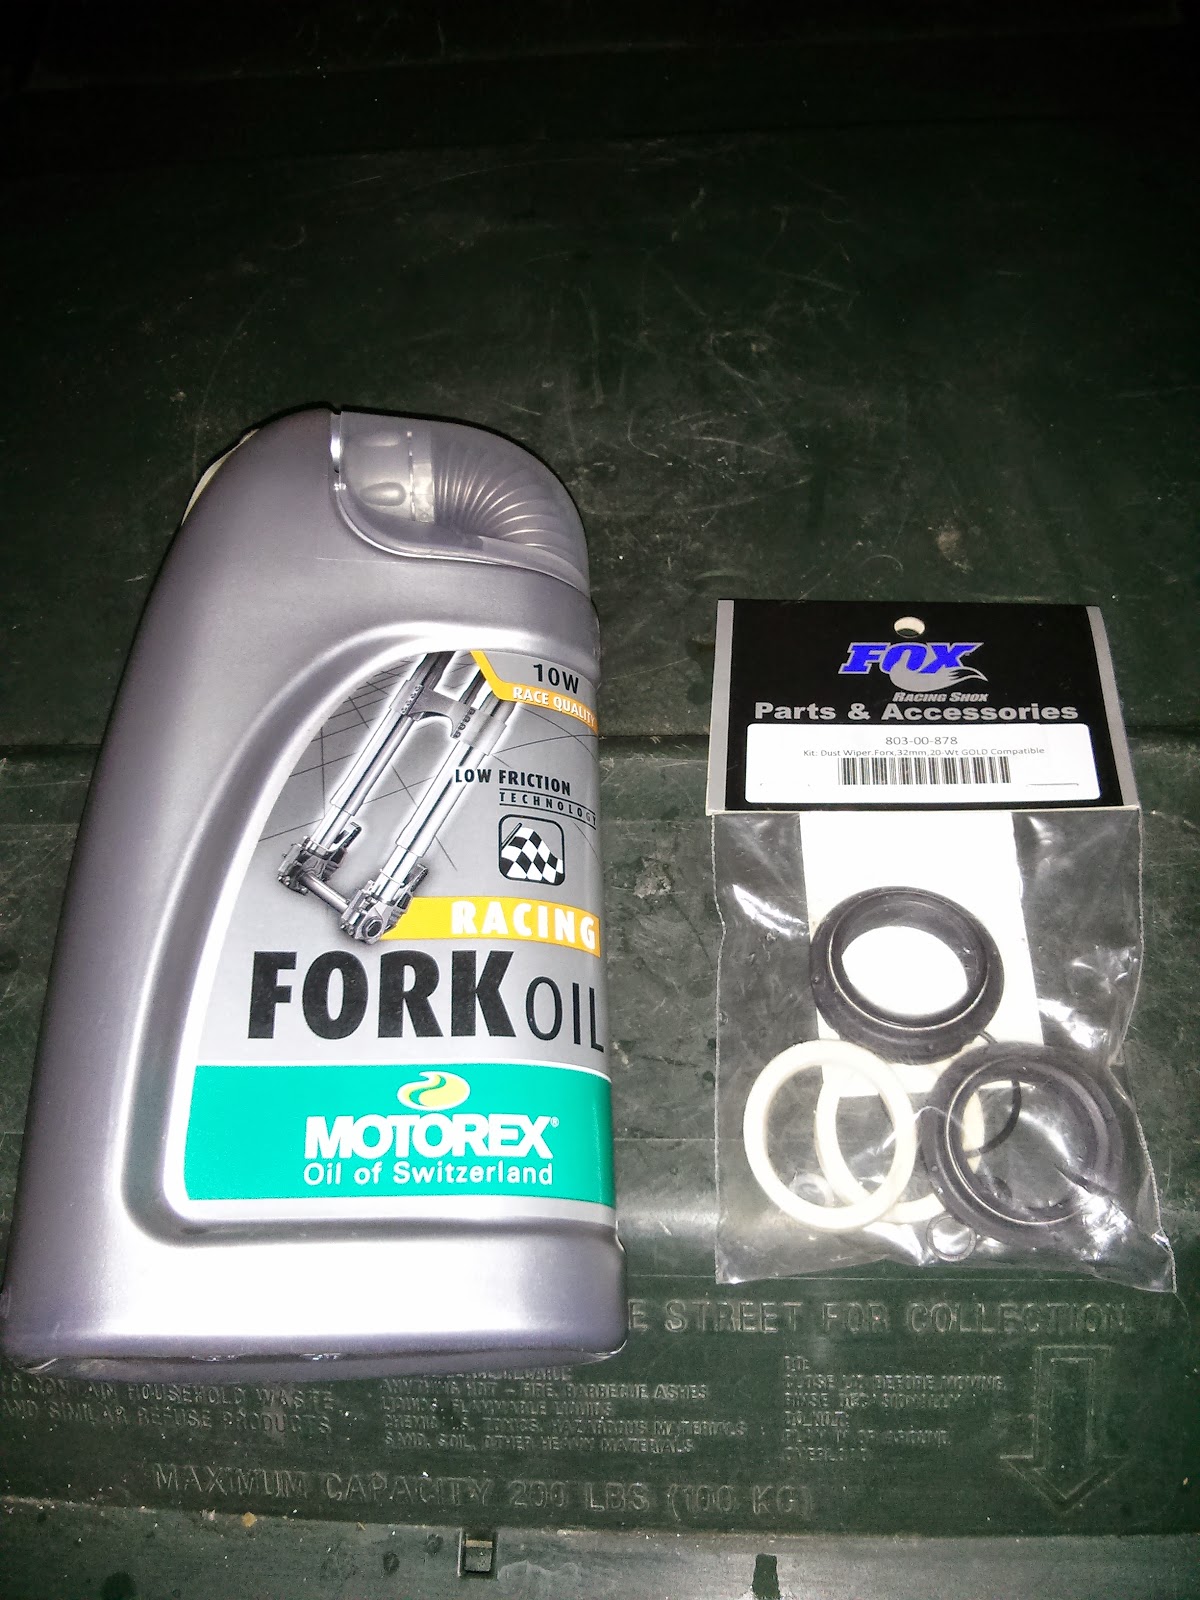 |
| Fox fork seals and 10wt fork oil |
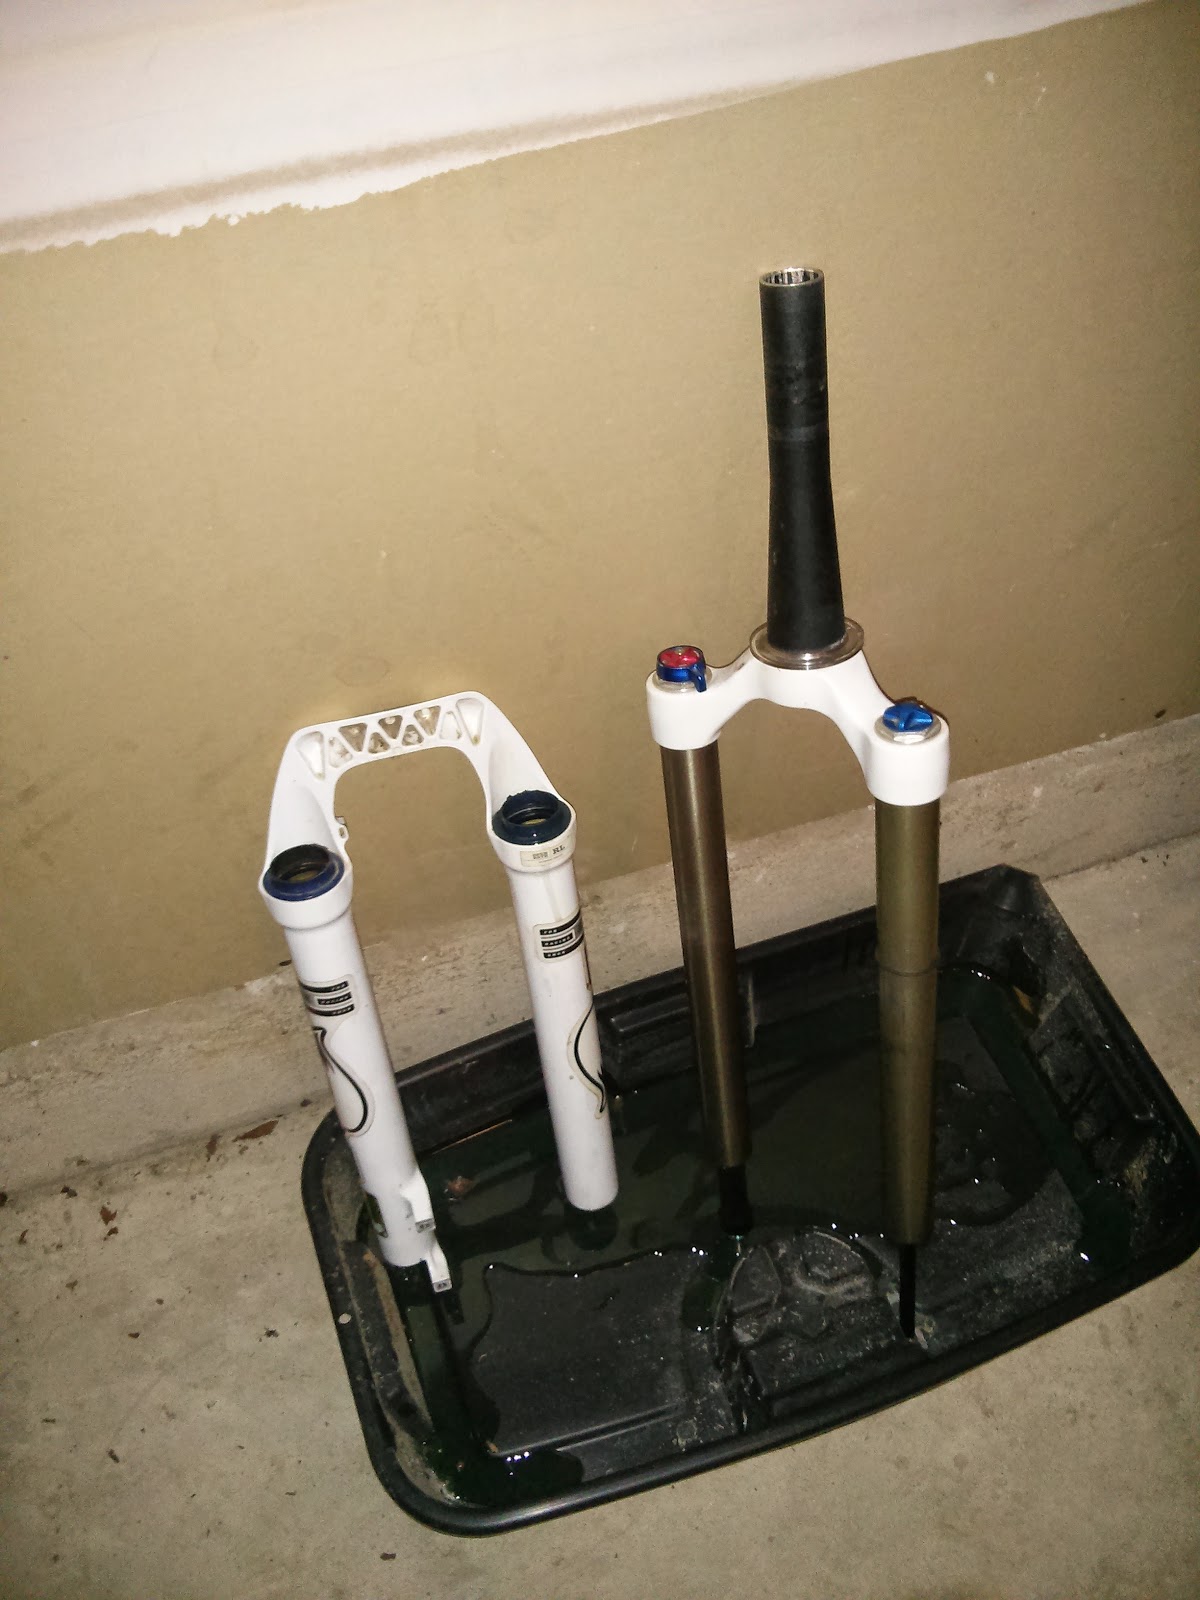
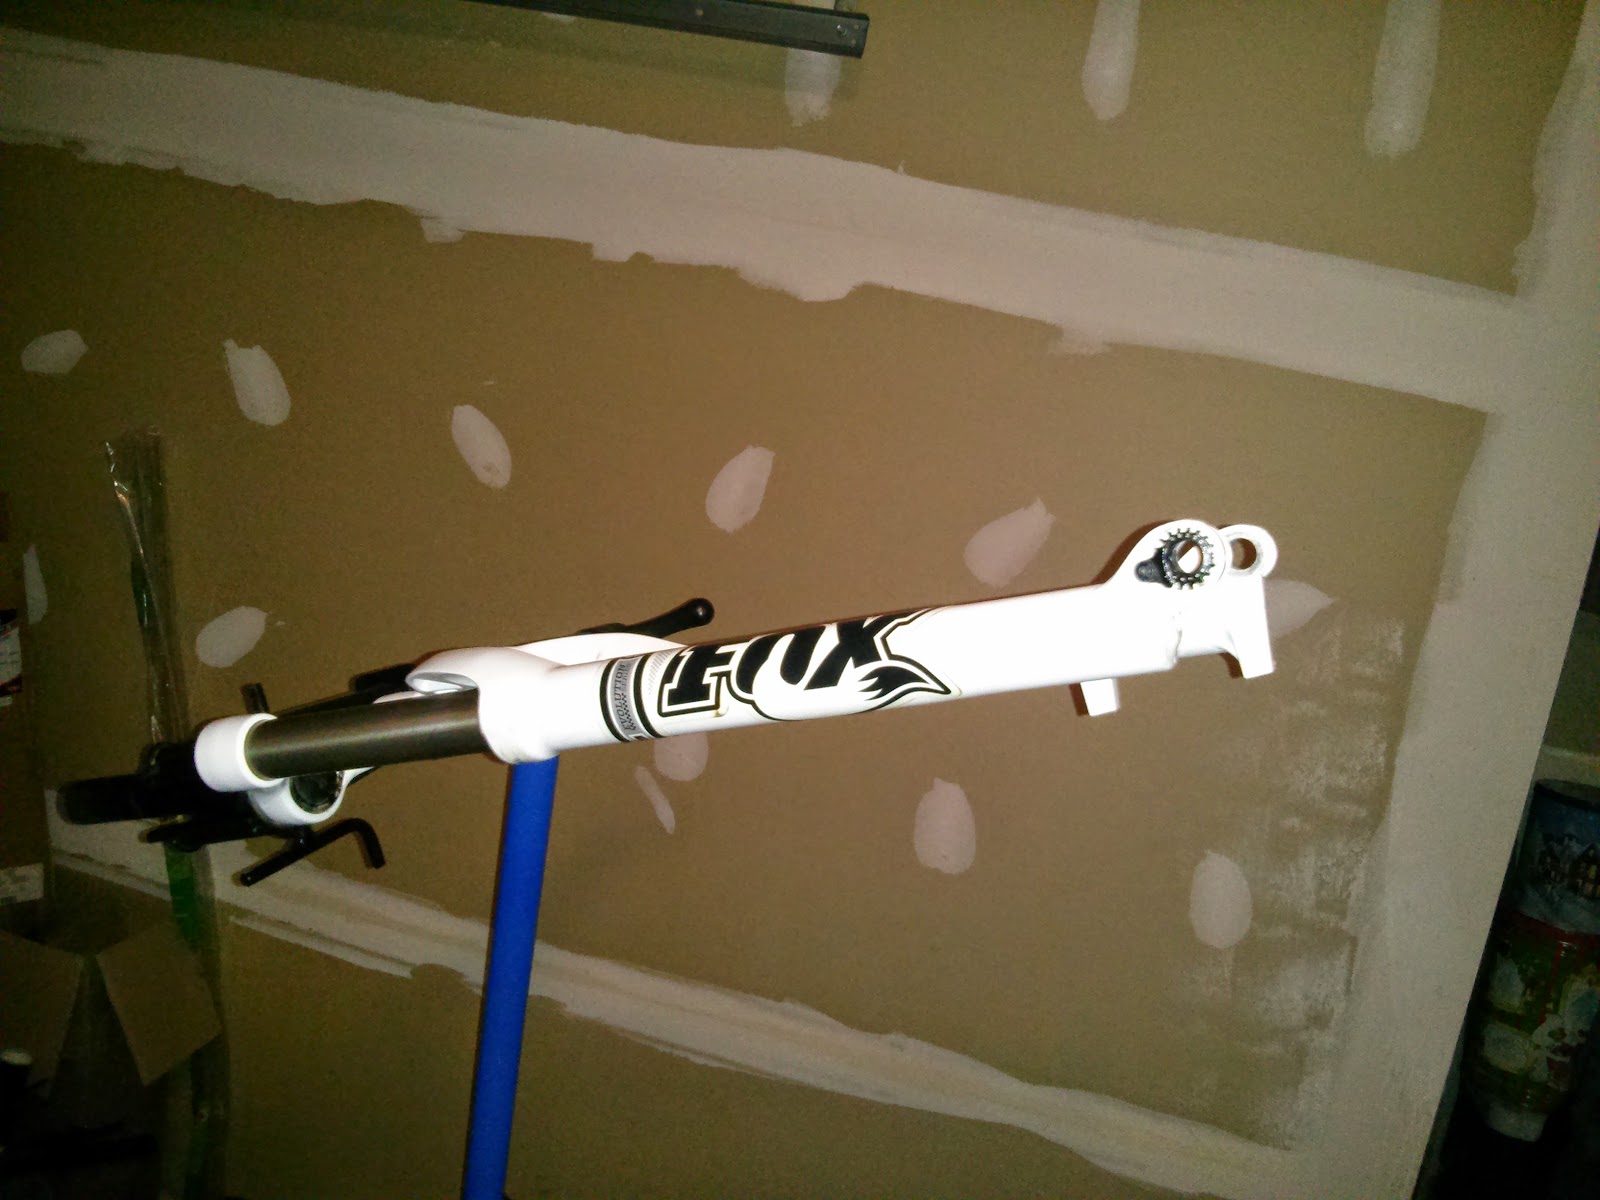
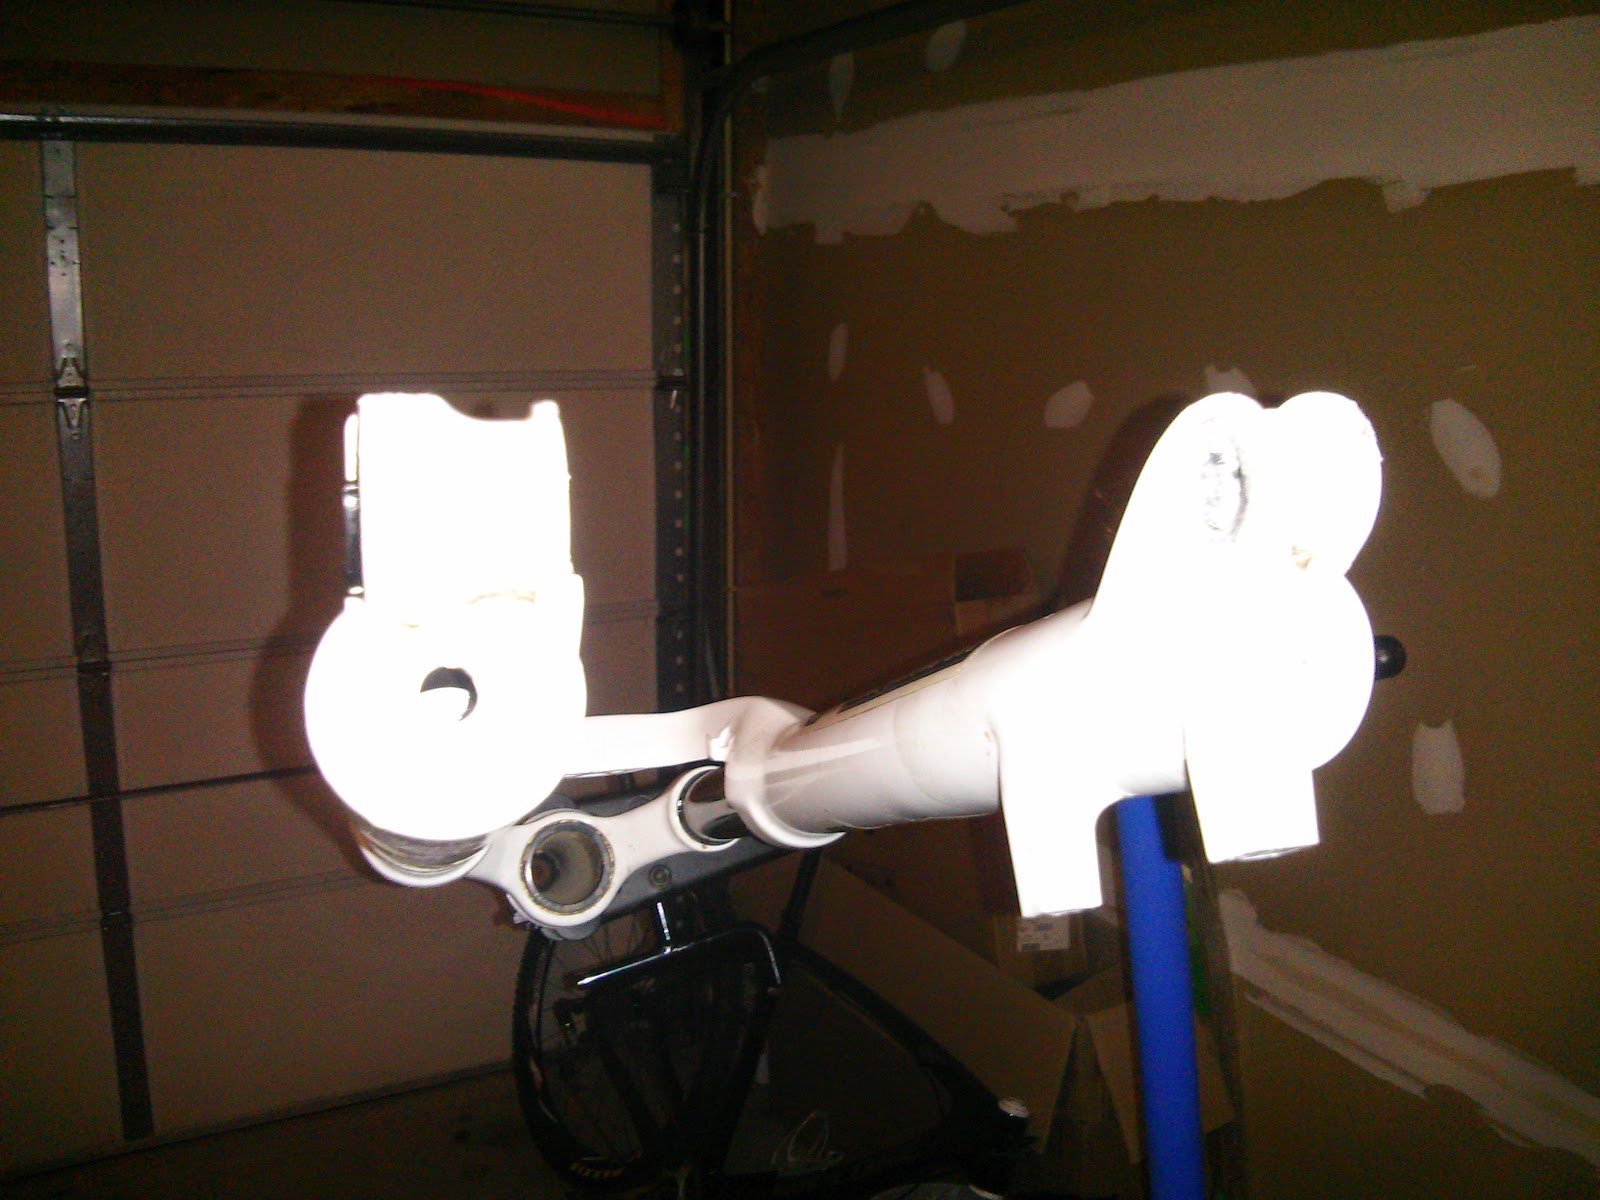
First step is to place the forks at an angle and to remove the nuts on the bottom of the forks using a 10mm socket which will then allow you to remove the lowers by tapping lightly an the threads with a hammer and then pulling the forks apart.
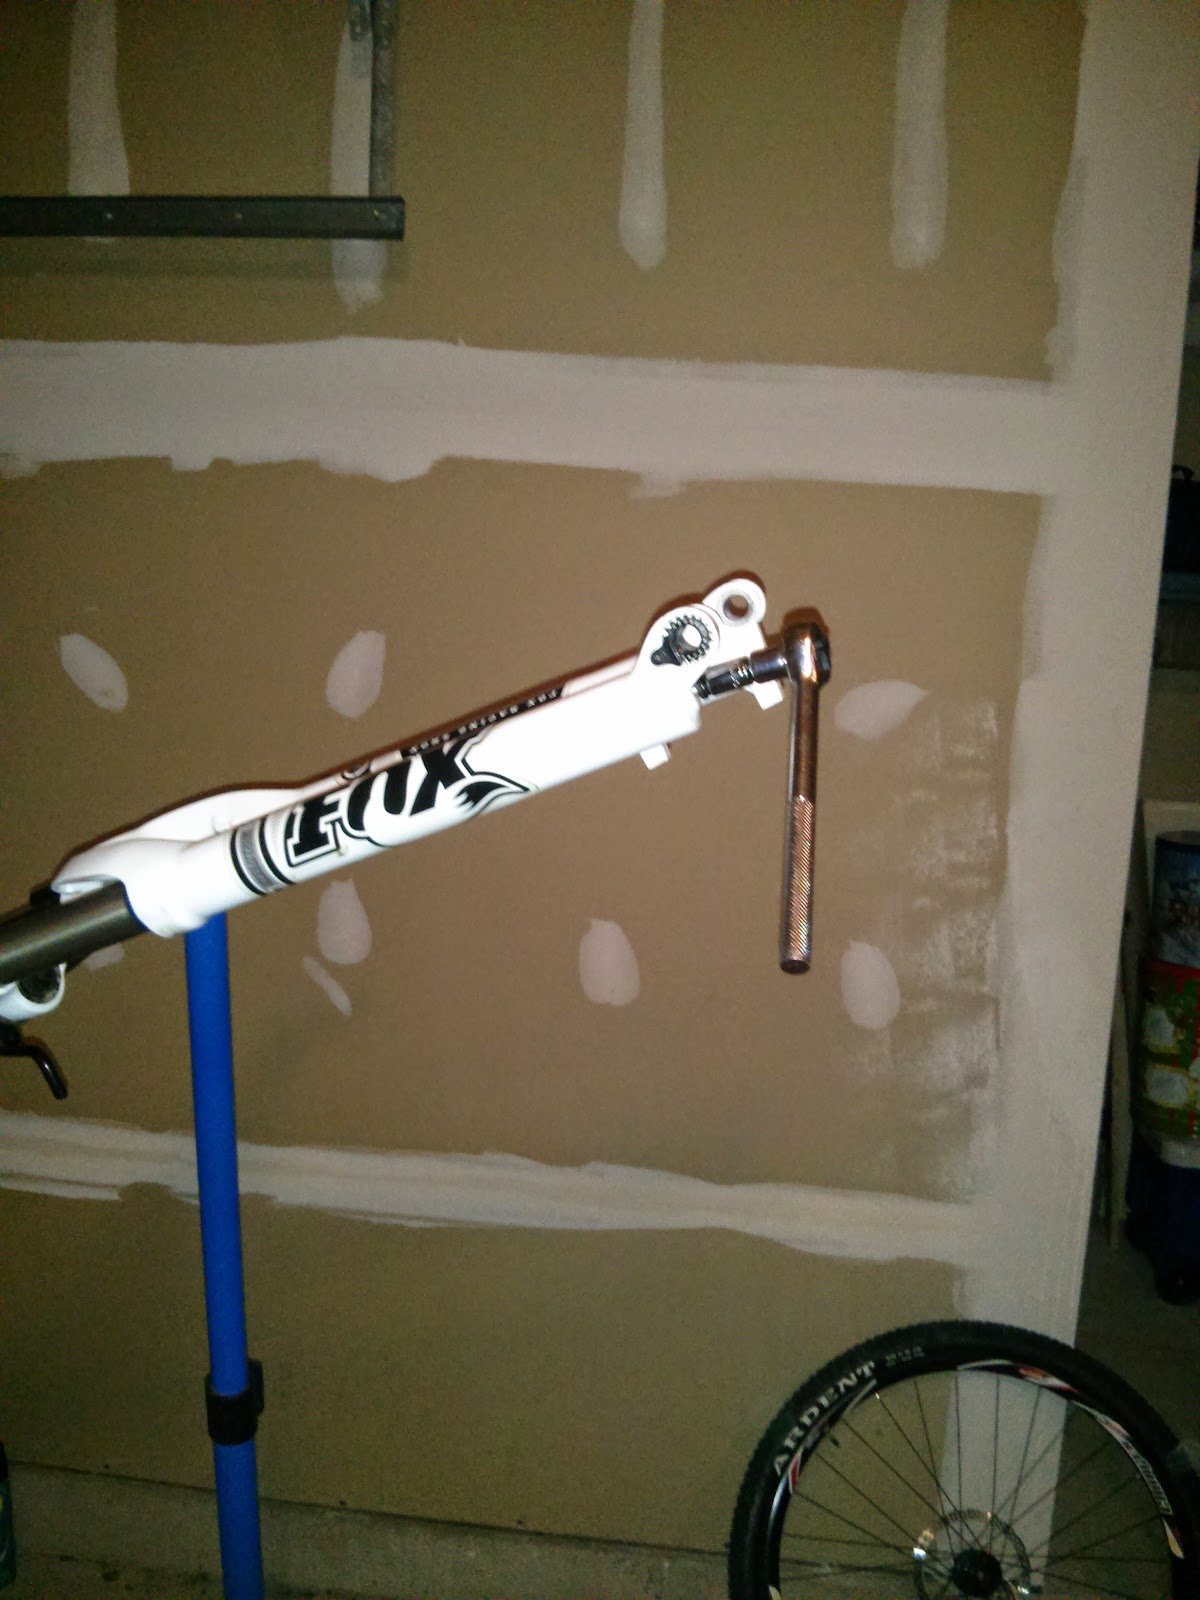 |
| Using a 10mm socket remove the nuts holding the lowers in place |
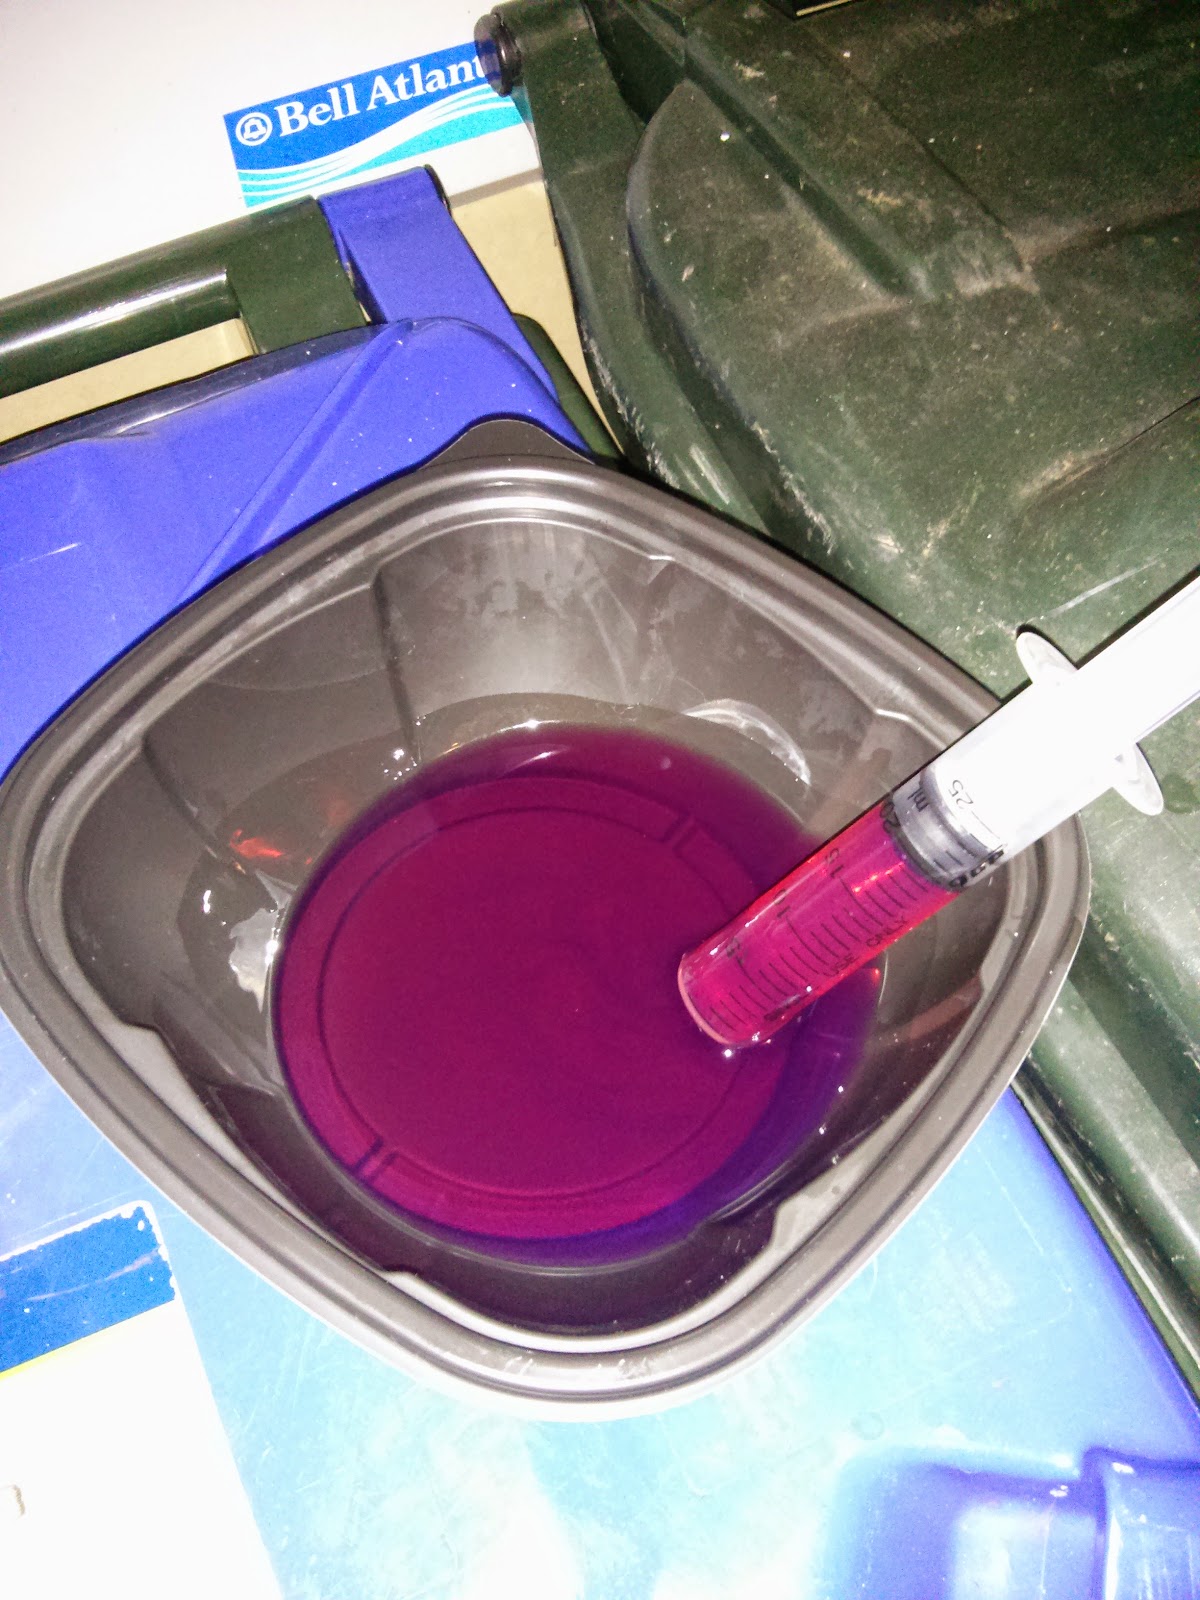
With the lowers seperated from the stanchions next step is to drain the oil into a suitable container.
The old seals can be removed by popping them out with the open end of a large wrench and then pulling out the foam inserts. The rather black and grimy looking foam roller is in the center of the below picture next to the one which was removed form the left stanchion. The foam insert was caked in dirt and almost rock hard, which explains fully why the seal was functioning so poorly.
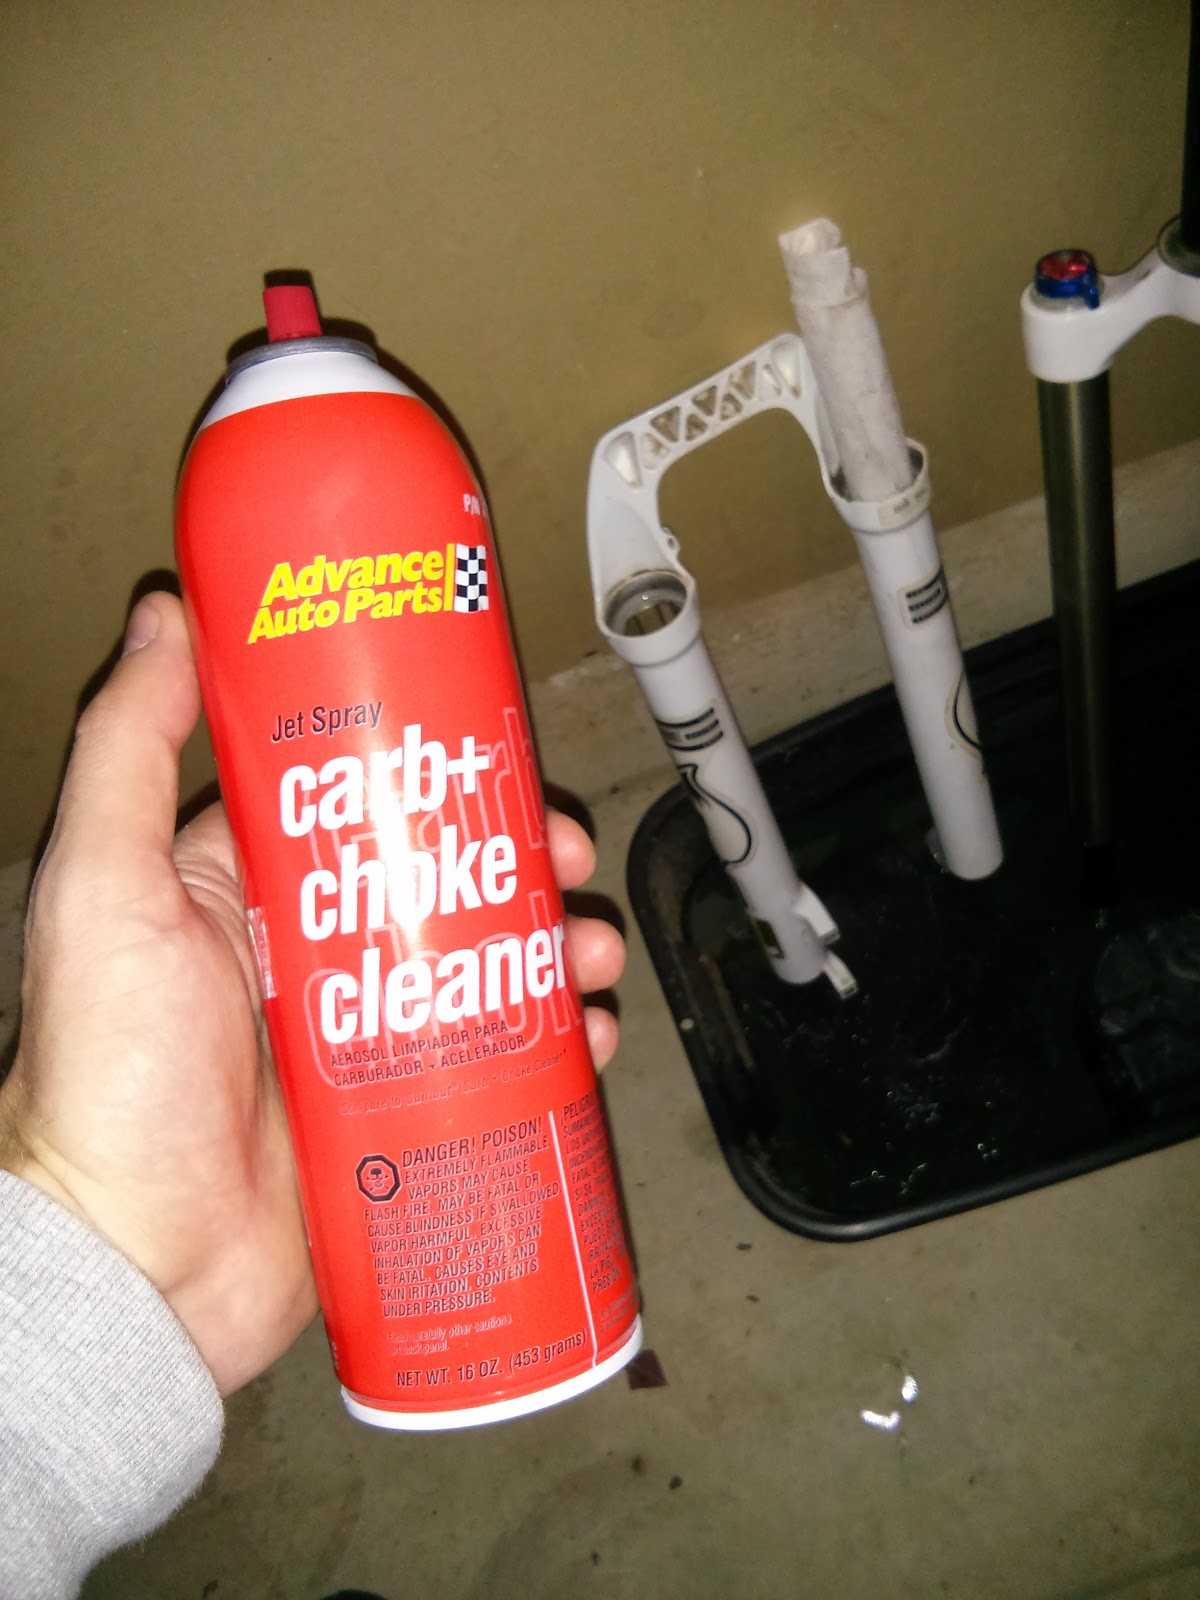
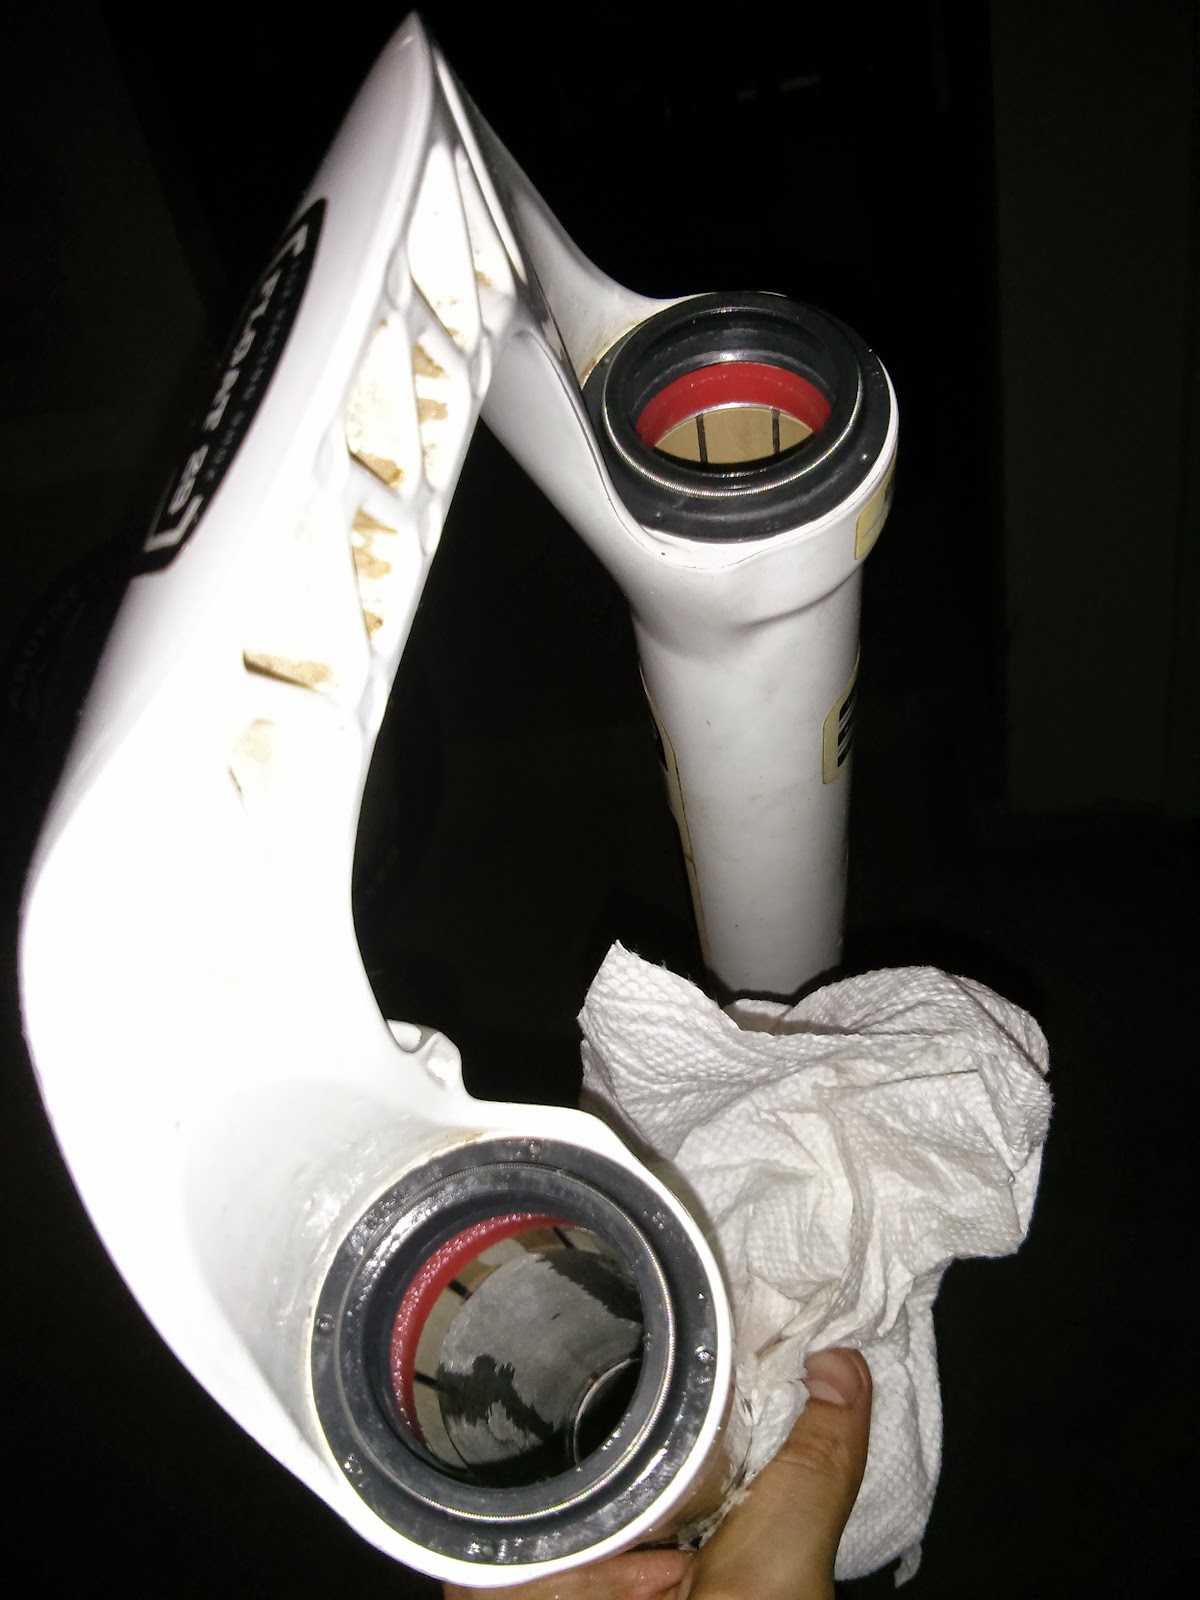
With the old seals out its a good idea to give the lowers and stanchions a clean, brake cleaner is good for this however I had some carb cleaner laying around which works just as well.
After spraying the cleaner into the lowers, I find it most effective to roll up a couple of sheets of kitchen roll to clean the internals.
 |
| Despite appearances the internals of the lowers contained a lot of dirt |
The new seals then push into above the foam inserts, they can be a little tricky but a little persistence pays off here, its even easier if you have a large socket or something similar to push them in with.
With the new seal inserted its time to push the lowers back over the stanchions, remembering to pop the rubber band on the left leg to allow you to set the sag.
With the lower back on the stanchions, its time to fill each side with oil, each fork is different but you can use the following link to check the correct levels Fox Fork Oil Volumes.
The oil is then added to the lowers and the final step is to push them back together, again exposing the threads add the small plastic crush washers and then using the 10mm socket tighten everything up.
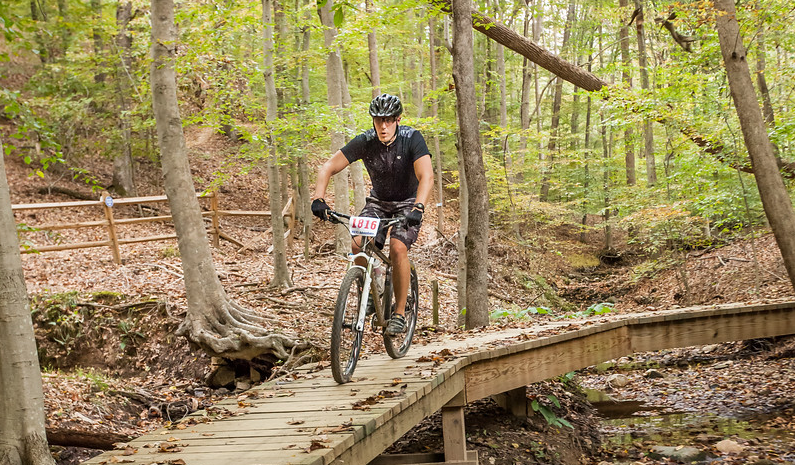
Fountainhead is pretty much the best mountain bike trail in the Northern Virginia, its solid workout testing not only your skills but also your stamina. Thanks to The Fountainhead Project its been constantly expanding, adding new trails and additional mileage. The trail is made up of three main loops, Green (beginner), Blue (intermediate), Black (advanced). The black trail has been seeing pretty much all of the new work, and as it was spring since I last had chance to attempt it when a colleague from work suggested we give it a go I was delighted.
At the start of the ride, the temps were just below freezing however did warm up a few degrees as we headed round. A quick stop to loosen a jockey wheel on my colleagues bike and we made good progress towards the entrance to the black loop. The black loop its fair to say is an extreme challenge but great fun, we decided that we were going to take it steady and enjoy the ride today rather than trying to power though each section.
As we get through the Black section there's an extremely prominent sign warning of the skill level required to progress through the trail or an option for a ride around.
Undeterred we pressed on and it was time for me to get the adrenalin pumping and take on the first main drop.
Despite the challenging terrain of the black loop and the extra energy required to keep pressing on, you are awarded with some awesome scenery making it even more worthwhile.
All in the moving time was just short of 2 hrs, with a total time of just over 2 hrs 30. Next time I'm sure will be a little quicker as we've gotten to ride some of the new features, aside from an energy wobble a few miles form home, It was a great ride and I can't wait to get back out there.
At the start of the ride, the temps were just below freezing however did warm up a few degrees as we headed round. A quick stop to loosen a jockey wheel on my colleagues bike and we made good progress towards the entrance to the black loop. The black loop its fair to say is an extreme challenge but great fun, we decided that we were going to take it steady and enjoy the ride today rather than trying to power though each section.
As we get through the Black section there's an extremely prominent sign warning of the skill level required to progress through the trail or an option for a ride around.
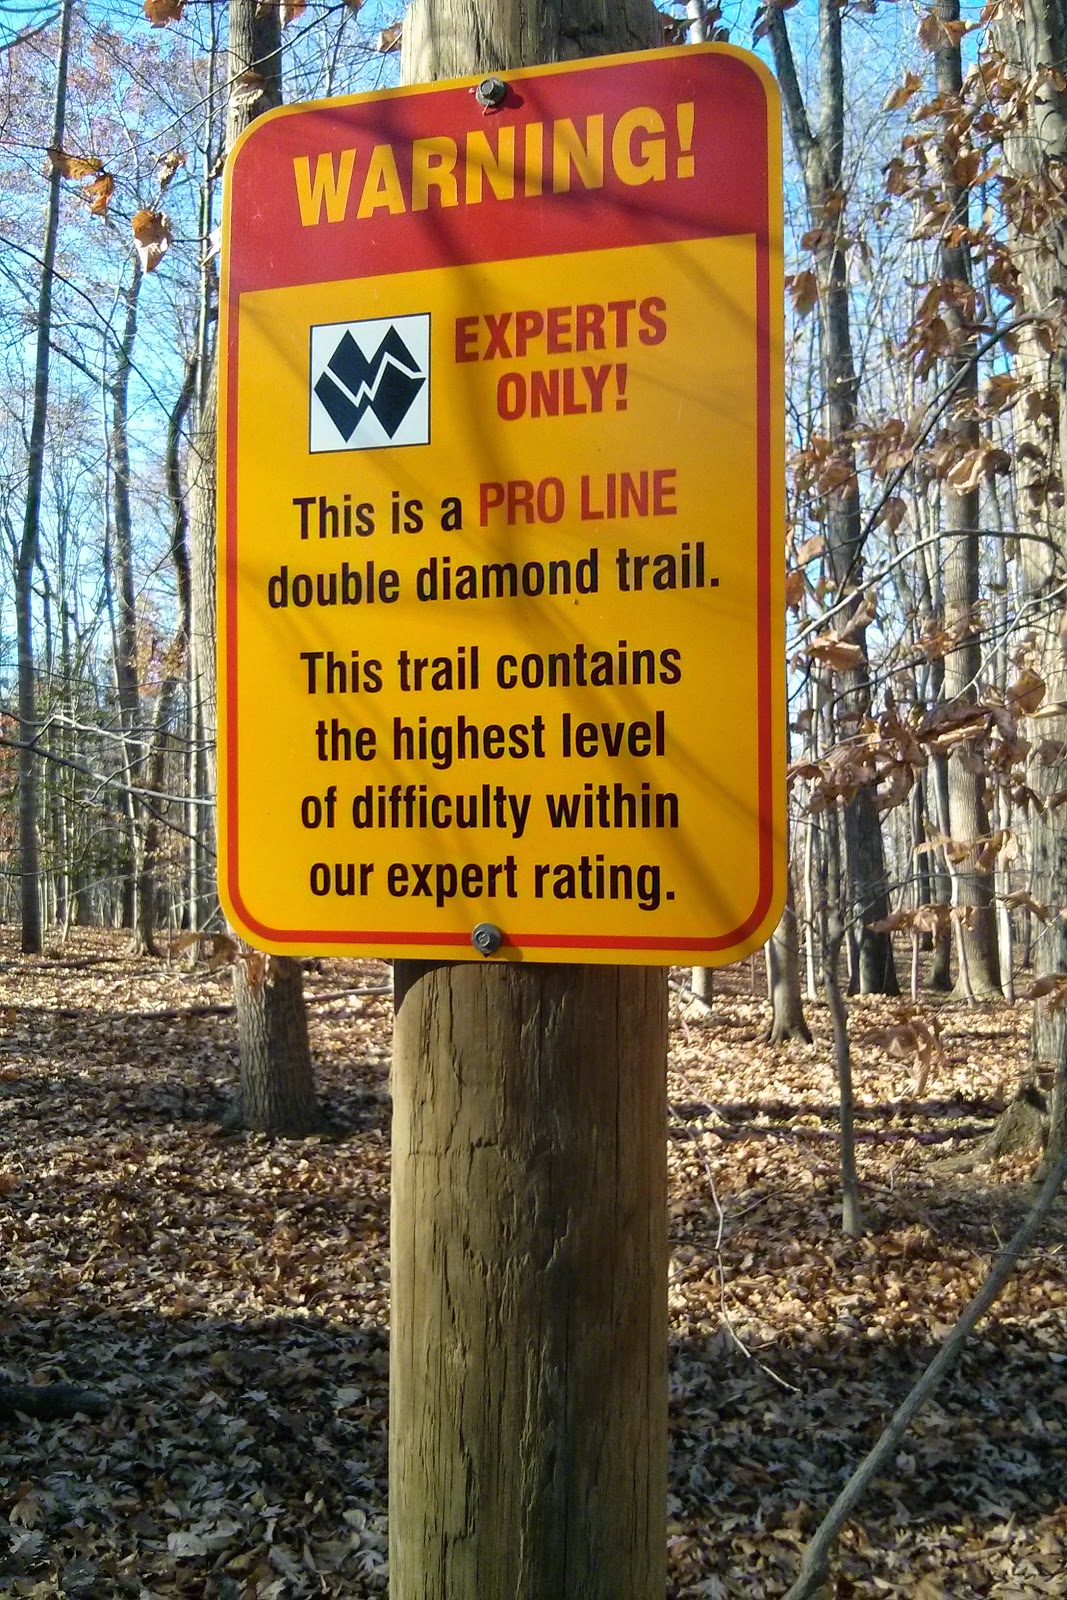 |
| Experts Only |
Despite the challenging terrain of the black loop and the extra energy required to keep pressing on, you are awarded with some awesome scenery making it even more worthwhile.
All in the moving time was just short of 2 hrs, with a total time of just over 2 hrs 30. Next time I'm sure will be a little quicker as we've gotten to ride some of the new features, aside from an energy wobble a few miles form home, It was a great ride and I can't wait to get back out there.
Danny MacAskill is back, this time replicating his loop stunt for the launch of Microsoft Cortana.
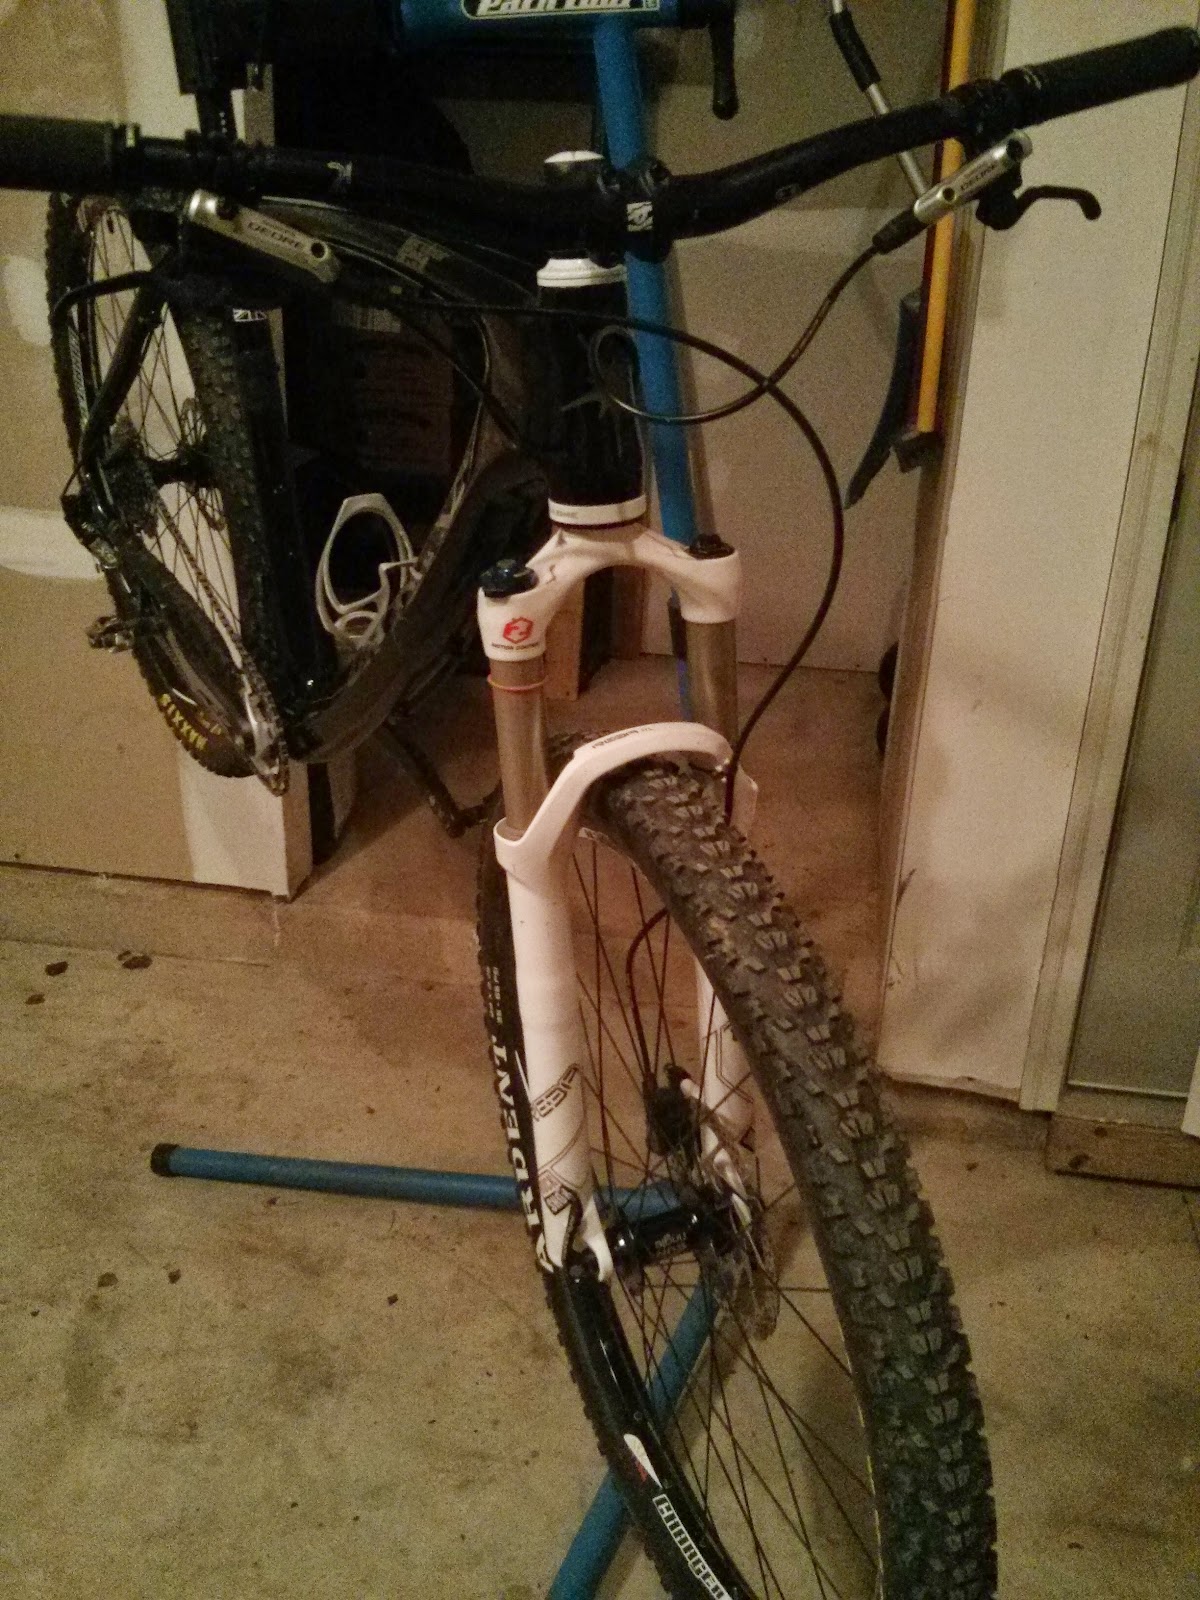
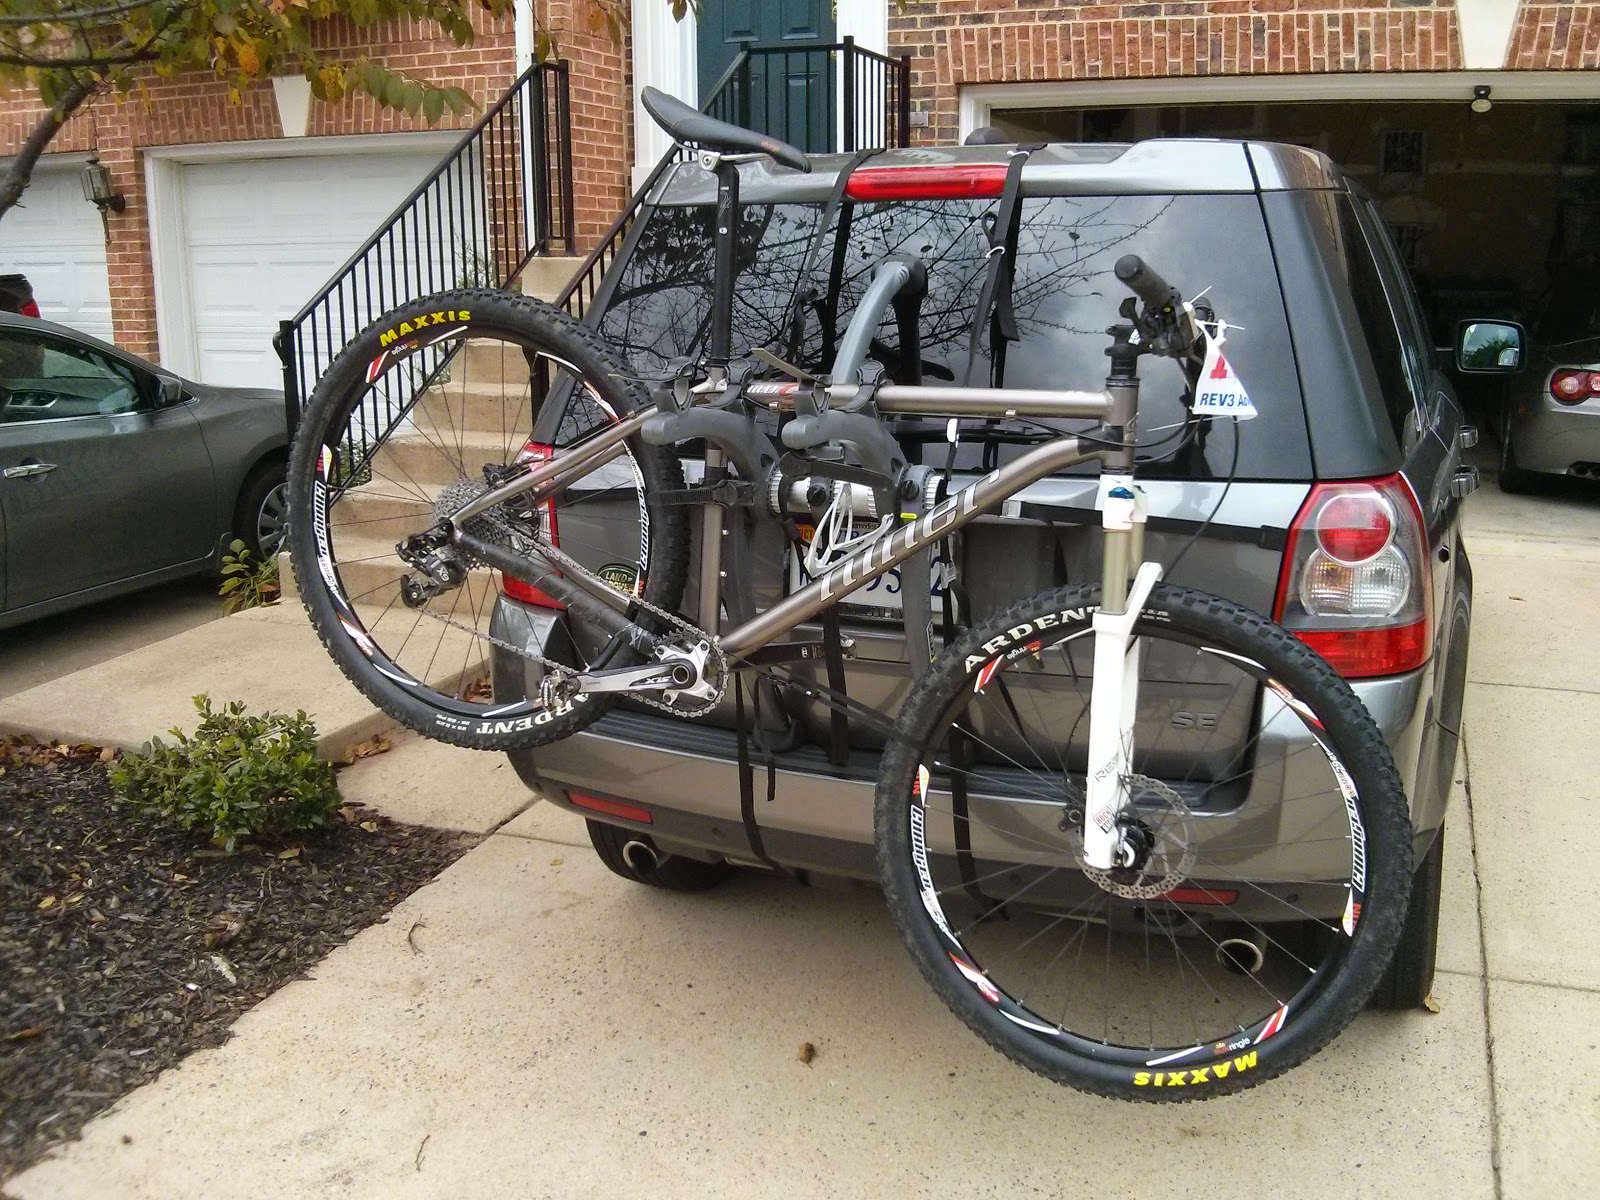
Having switched my Rockshox Rebas over to the On-One Lurcher frame they rode fine, however, the Lurcher has a tapered head tube and with my Sun Ringle Charger front wheel having the ability to run 9mm, 15mm or 20mm axles I wanted to see if I could take advantage of those options and stiffen the front end of the bike up.
I have to say I have been incredibly pleased with the Rebas to date, they are a straight steerer with 9mm quick release and I actually picked them up with 80mm of travel, which I increased by removing a spacer up to 100mm. The Rebas have been a great fork and have required minimal maintenance. I run an 1800mm rotor up front and one of the biggest things I have been able to notice with running the Rebas and the 9mm quick release is that there was a lot of flex on the front wheel when when breaking heavily. To try and counter this the quick release had to be clamped down incredibly tight.
I set about searching the usual channels for a used deal with the following criteria:
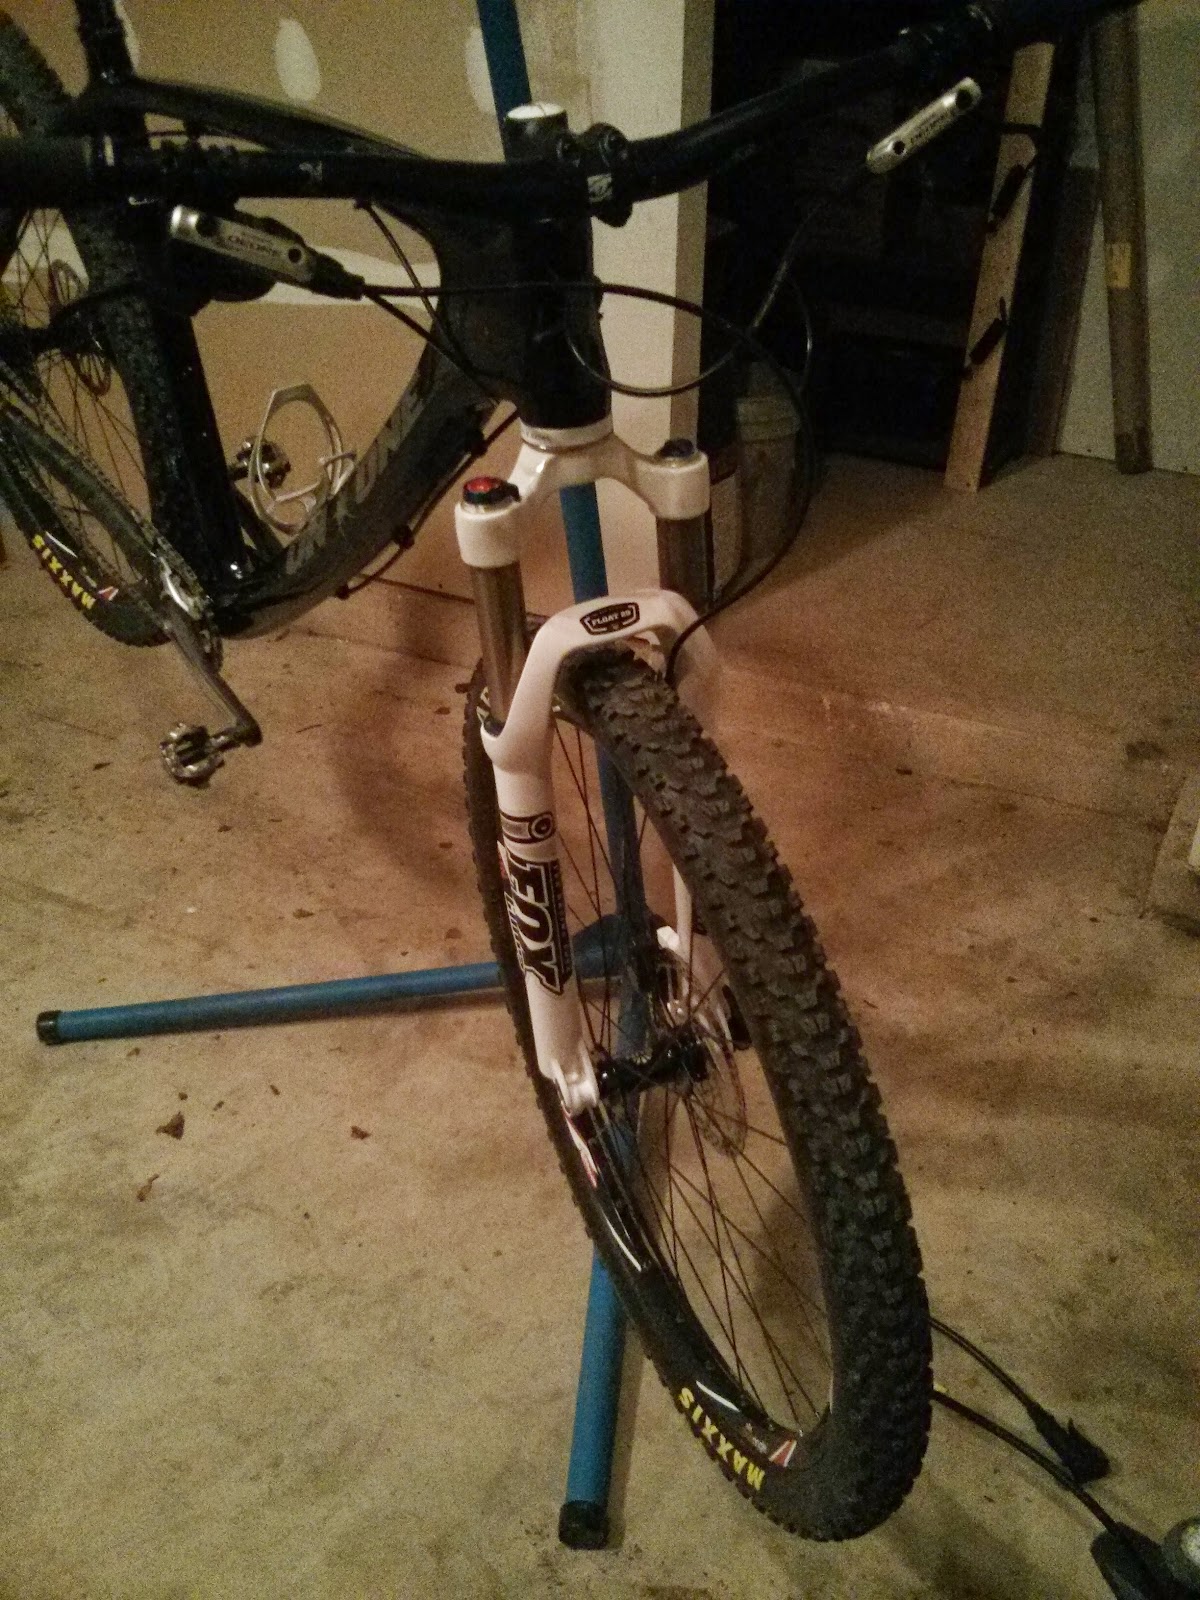
It didn't take long before Pinkbike's Buy/Sell Section threw up a set of Fox Float Evolution RL 100mm, within budget, having recently been rebuilt, coming with the all important tapered steerer and 15mm thru axle.
Changing the forks over was an easy process, all it needed was a new crown race from the team at On-One to accommodate the tapered steerer. All in I think the new fork suits the look of the bike well.
I did take it for a maiden voyage and there was some oil seepage on the stanchions, I'll keep an eye on it and likely replace the seals in the near future, so look out for a further post.
I have to say I have been incredibly pleased with the Rebas to date, they are a straight steerer with 9mm quick release and I actually picked them up with 80mm of travel, which I increased by removing a spacer up to 100mm. The Rebas have been a great fork and have required minimal maintenance. I run an 1800mm rotor up front and one of the biggest things I have been able to notice with running the Rebas and the 9mm quick release is that there was a lot of flex on the front wheel when when breaking heavily. To try and counter this the quick release had to be clamped down incredibly tight.
 |
| Rockshox Reba RL, 100mm, Straight Steerer, 9mm Quick Release |
- 100mm travel
- Tapered Steerer
- Thru Axle
- Air fork
- Rebound and Lockout
- Budget of $200-$250
It didn't take long before Pinkbike's Buy/Sell Section threw up a set of Fox Float Evolution RL 100mm, within budget, having recently been rebuilt, coming with the all important tapered steerer and 15mm thru axle.
 |
| Fox Float Evolution RL, 100mm, Tapered Steerer, 15mm Thru Axle |
I did take it for a maiden voyage and there was some oil seepage on the stanchions, I'll keep an eye on it and likely replace the seals in the near future, so look out for a further post.
There's been a lot of activity here in the Northern Virginia area and new trails have been pooping up on a regular basis, meaning there's lots of choice when it comes to selecting where to go on my Saturday morning ride. For the last couple of weeks, myself and a couple of work colleagues have been talking about checking out 'The Boss Trail' at the Meadowood project.
 |
| The South Branch Loop is in Purple |
Although it was a cold day the sun was shining and the trail was bone dry meaning riding conditions were almost perfect. There were a lot of dry leaves, but clearly this is a well used trail, so there were no issues finding our way. Trail markers placed along route helped to keep us on track.

About halfway round the loop clockwise there's a short jump section with a few berms to keep the flow and maintain speed however the real gem is the newly opened 'The Boss Trail', starting out with a short boarded section it flows in to some ramped corners, across a jump and into another steep and boarded corner.
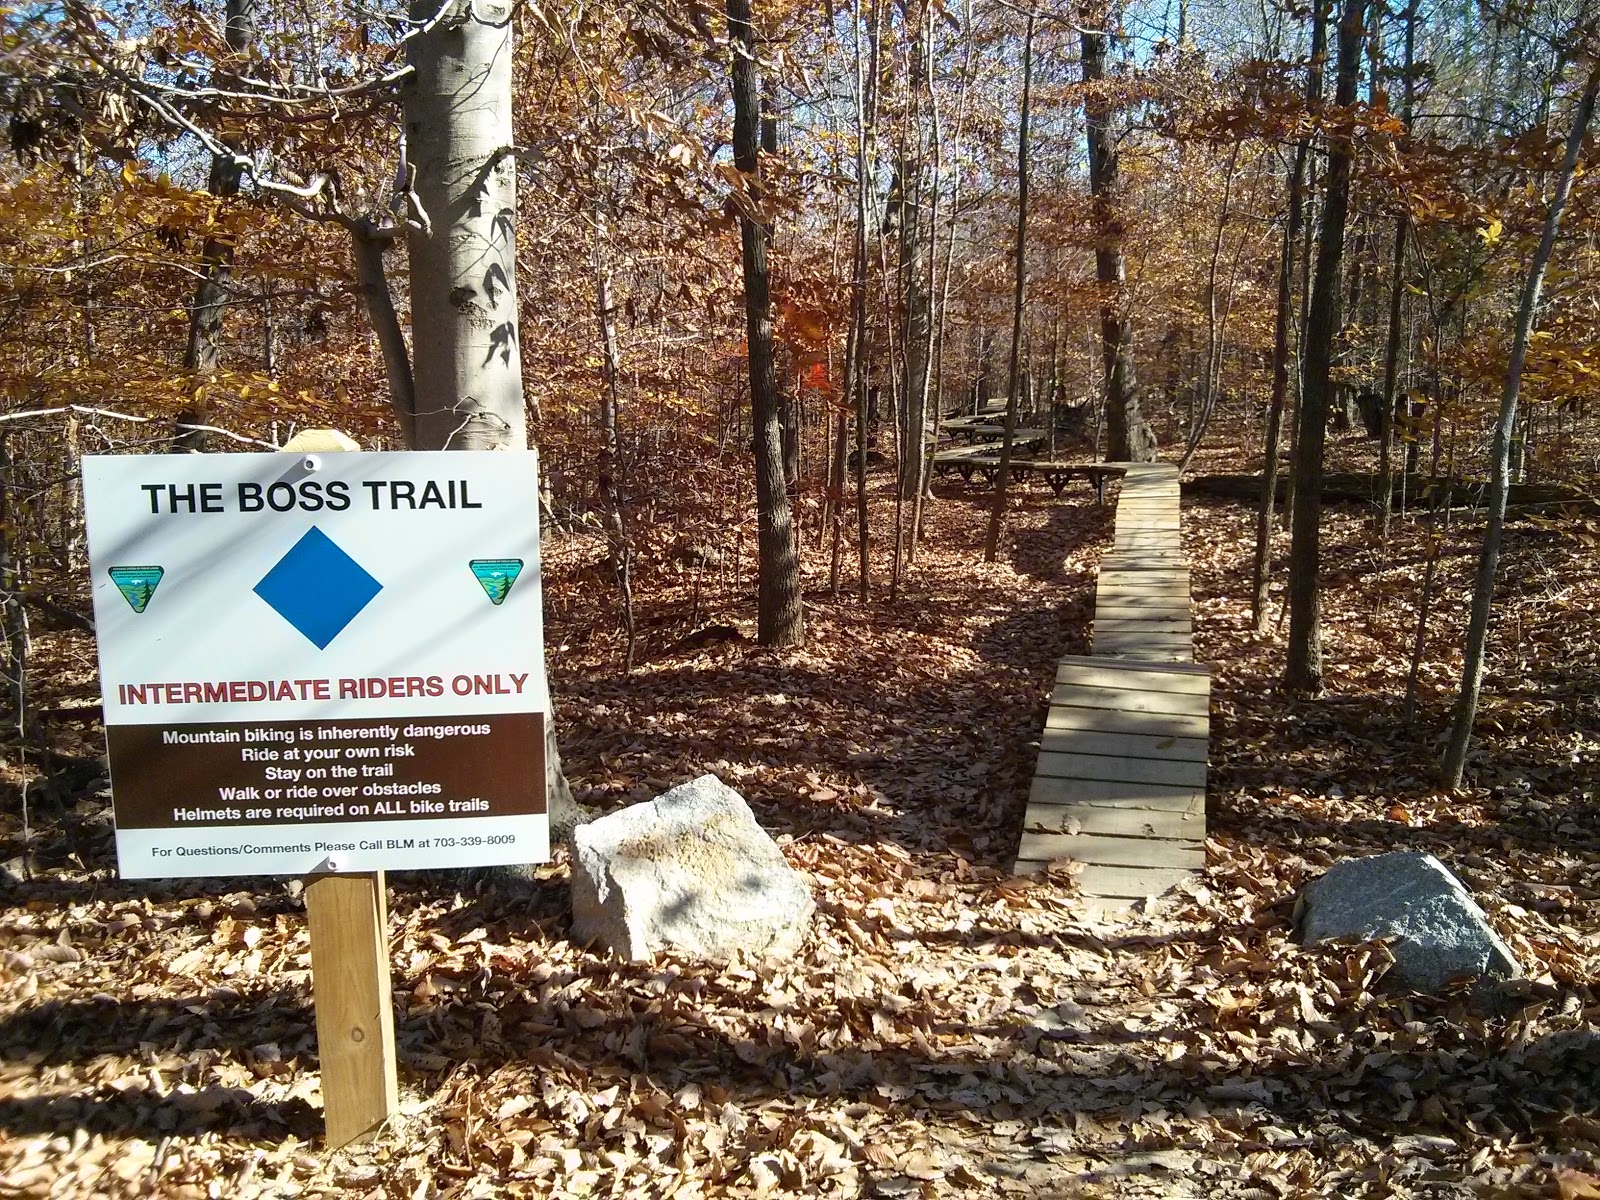
Here's a quick vid of me making my way through the first section of 'The Boss Trail'.
The last couple of weeks have seen it start to get cold here in Northern Virginia, the air feels much crisper and there is a definite chill. This time of year means it time for a few more layers when out on a ride not only to keep the body warm but also to ensure the ride remains comfortable and enjoyable.
When purchasing the On-One Lurcher frame I was having a look around their site and came across their performance base layer clothes and their very agreeable price. For winter riding I picked up the Performance Fit Long Sleeve top and the Seamless Base Pant, both were under $20 each.


In terms of fit there are two options for both, S/M or L/XL, I went for L/XL in both and the fit is great, they are extremely comfortable and fit snug, but definitely have room to stretch and accommodate if you are on the larger side. One of the great things about the pants in particular is that they are long enough to comfortably cover your ankles and fit snugly into your socks giving that extra warmth. The material is thick enough that it feels quality without feeling heavy.
I've ridden in these a couple of times now and can only say positives, at the price point I'm sure I'll order another set before the winter hits.
When purchasing the On-One Lurcher frame I was having a look around their site and came across their performance base layer clothes and their very agreeable price. For winter riding I picked up the Performance Fit Long Sleeve top and the Seamless Base Pant, both were under $20 each.
 |
In terms of fit there are two options for both, S/M or L/XL, I went for L/XL in both and the fit is great, they are extremely comfortable and fit snug, but definitely have room to stretch and accommodate if you are on the larger side. One of the great things about the pants in particular is that they are long enough to comfortably cover your ankles and fit snugly into your socks giving that extra warmth. The material is thick enough that it feels quality without feeling heavy.
I've ridden in these a couple of times now and can only say positives, at the price point I'm sure I'll order another set before the winter hits.
Having completed a recent race series on the Niner EMD I couldn't help but feel I was lacking a little, especially in the climbs. This led me to start experimenting with one or two longer stems which I had lying around and I found getting a stem over 100mm made things much more comfortable, but with the seatpost at almost the minimum insertion line I couldn't get away from thinking that the frame could just be a little on the small side for me.
When I bought the Niner frame, I picked it up for a bargain and had taken good care of so thought I should be able to sell it for a similar price, linked with selling a few other parts I had lying around I set myself a budget of $500 or so to get something new in XL sizing.
I looked at the current Niner offerings which I have to say are very nice however I wanted to try a different material to Aluminium if possible. Having always admired On-One's line up I found myself looking at the steel Inbred frames which can be had for under $300 but whilst on their site it was hard to resist the draw of their carbon fiber Lurcher frame.

The Lurcher spec reads as follows:
Frame Details
Frame Material - Mitsubishi High Modulus Carbon
Approx. Frame Weight (g) - 1550
Seatpost Size (mm) - 31.6mm
Seat Clamp Size (mm) - 34.9mm
Font Mech Clamp Size (mm) -High Direct Mount
Wheels - 29" x 2.4 tyres will fit, but we recommend 2.0 - 2.3" for best performance
Mudguard mounts - No
Rack Mounts - No
Bottle Cage Bosses - 2 sets
Fork Travel - 100mm MAX
Dropout - Swapout (vertical supplied with frame, horizontal available)
Bottom Bracket shell - Pressfit92
Headset - Smoothie Mixer standard (44mm upper, 49.6mm lower)
The great thing about the Lurcher frame in comparison to the Niner EMD is that everything with the exception of the headset and bottom bracket would just be a straight swap.
For the headset I went with On-One's Smoothie Mixer which fits the Lurcher's tapered head tube, however comes with a crown race which allows you to run a straight steerer fork. If at a later date I want to run a Tapered fork I can purchase a different crown race for minimal cost.
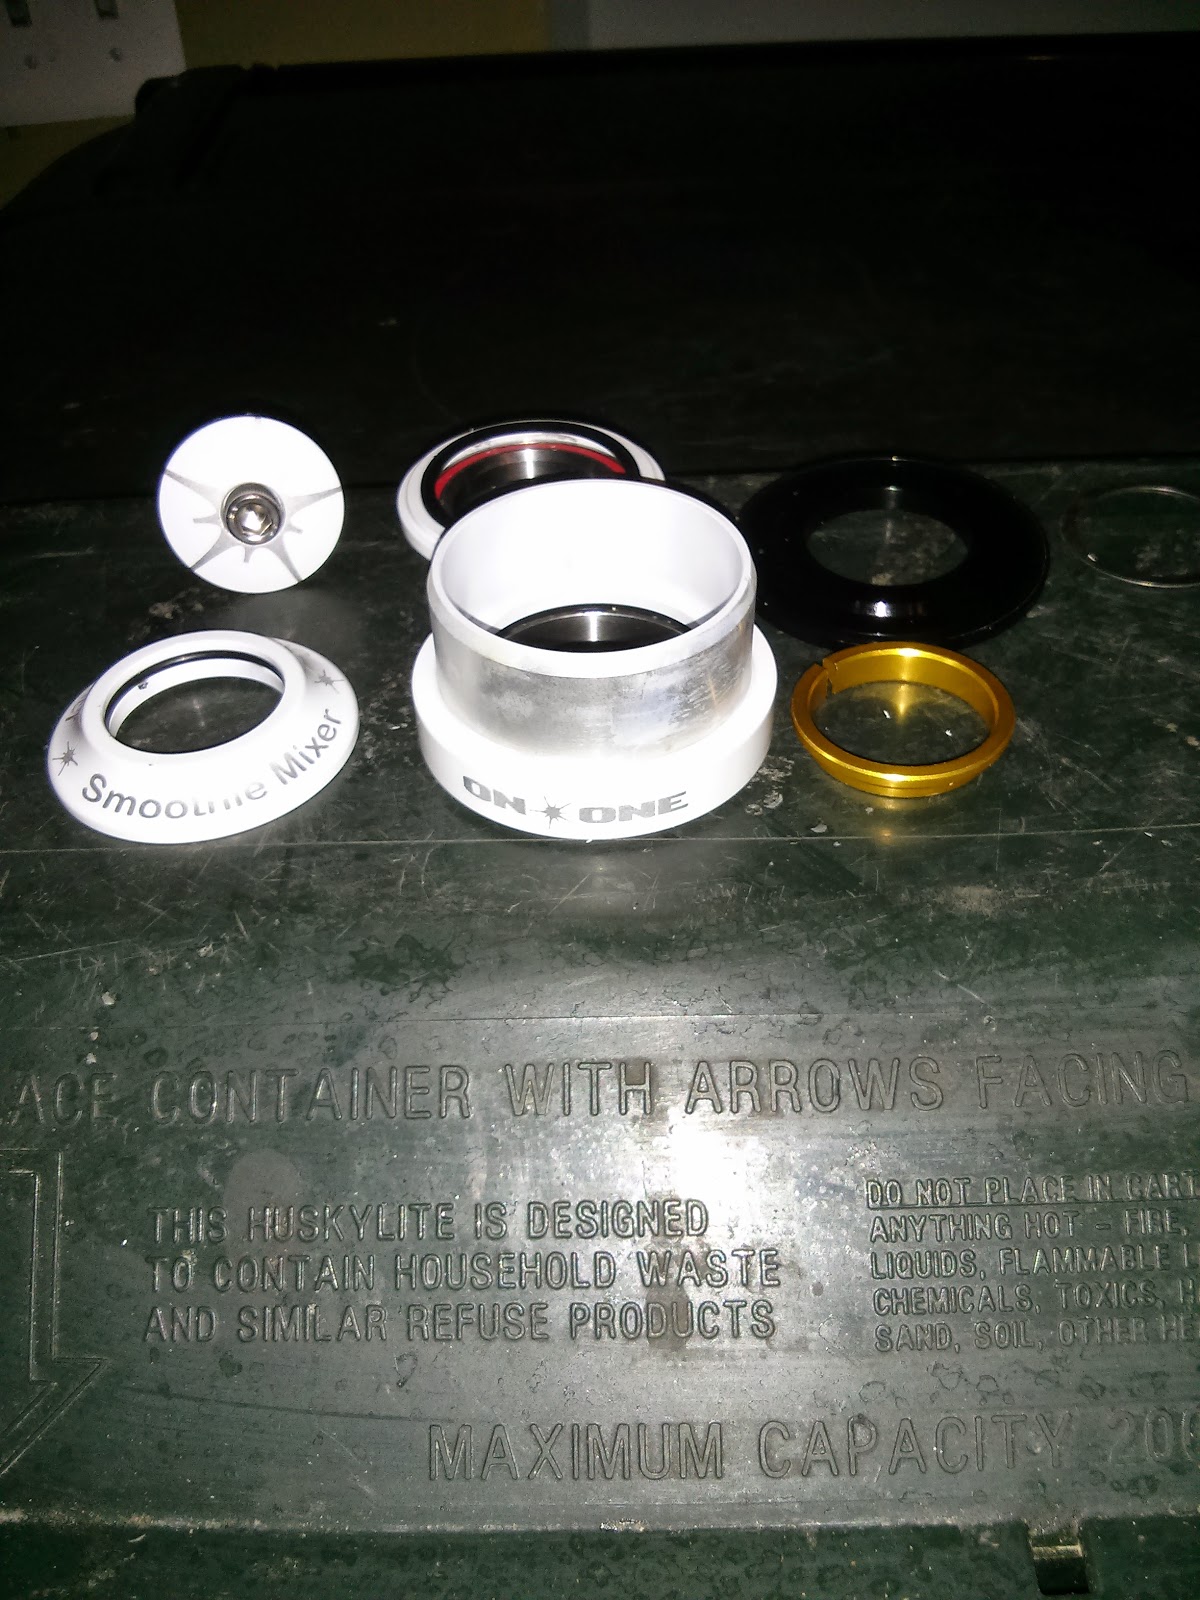 |
| On-One Smoothie Mixer Headset |
 |
| Headset cups installed |
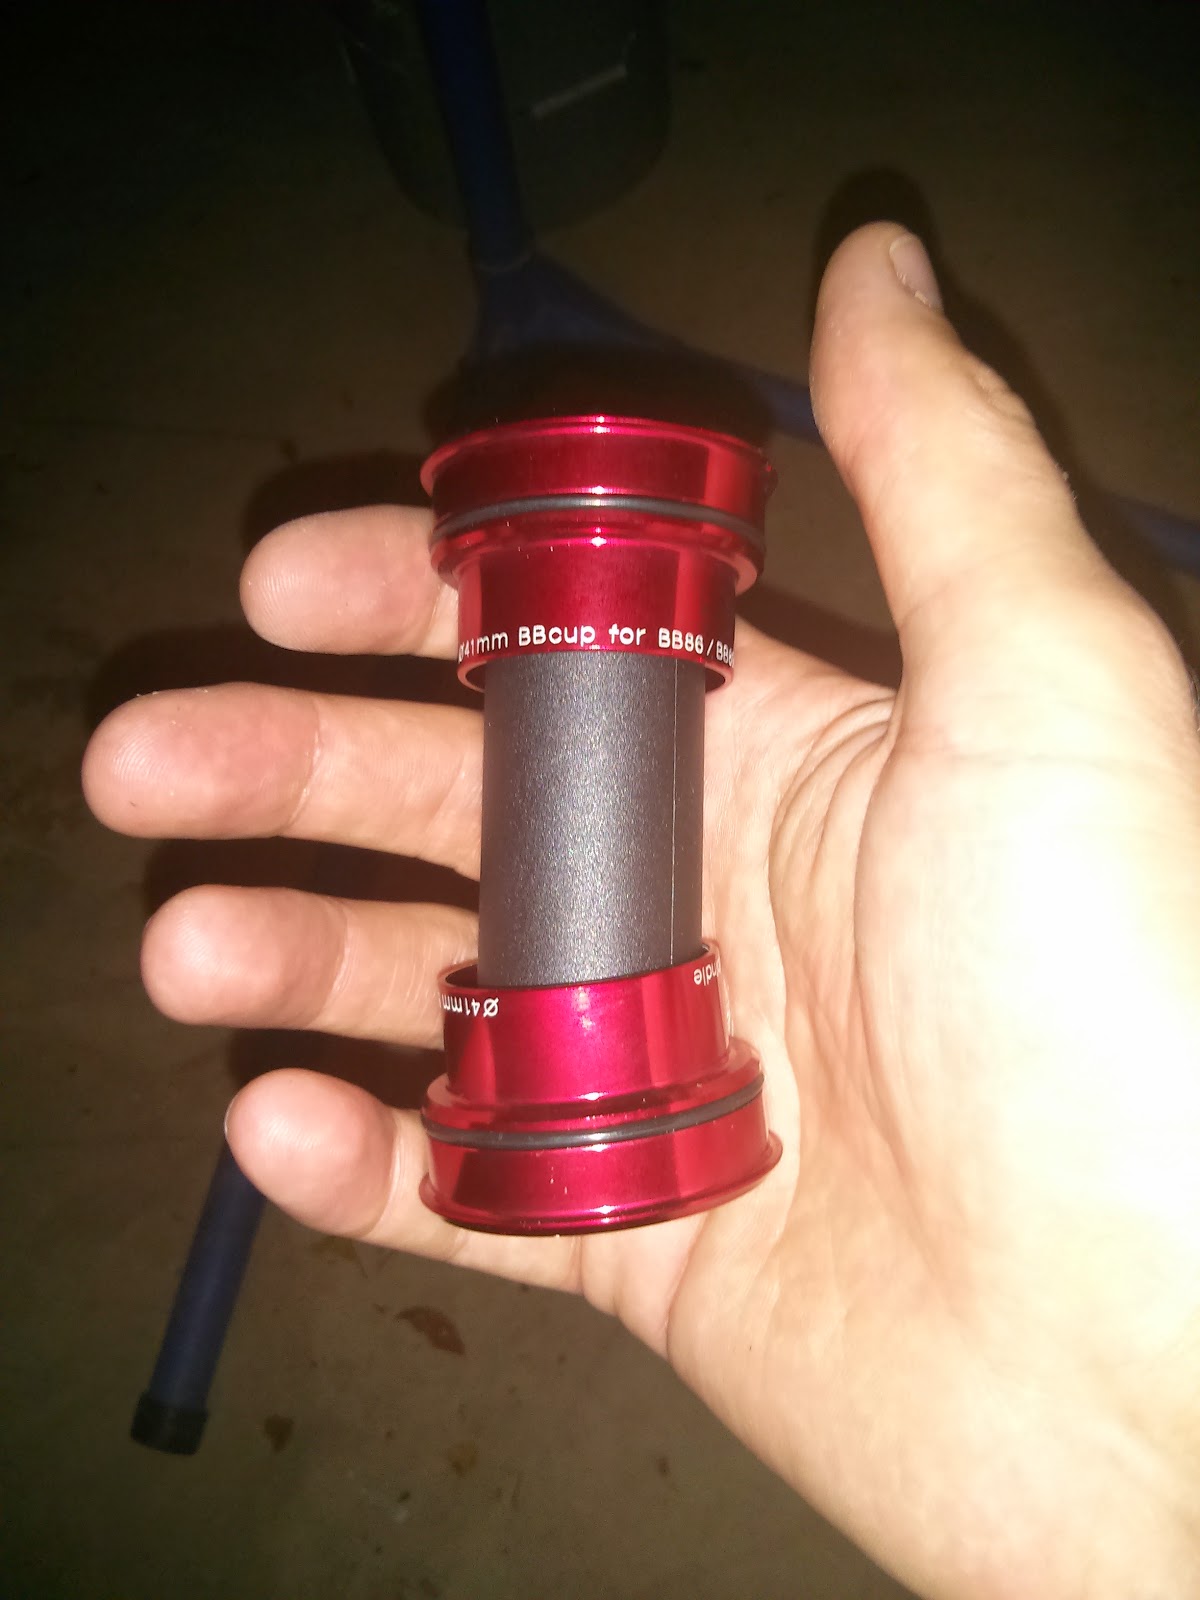 |
| Token Press Fit BB |
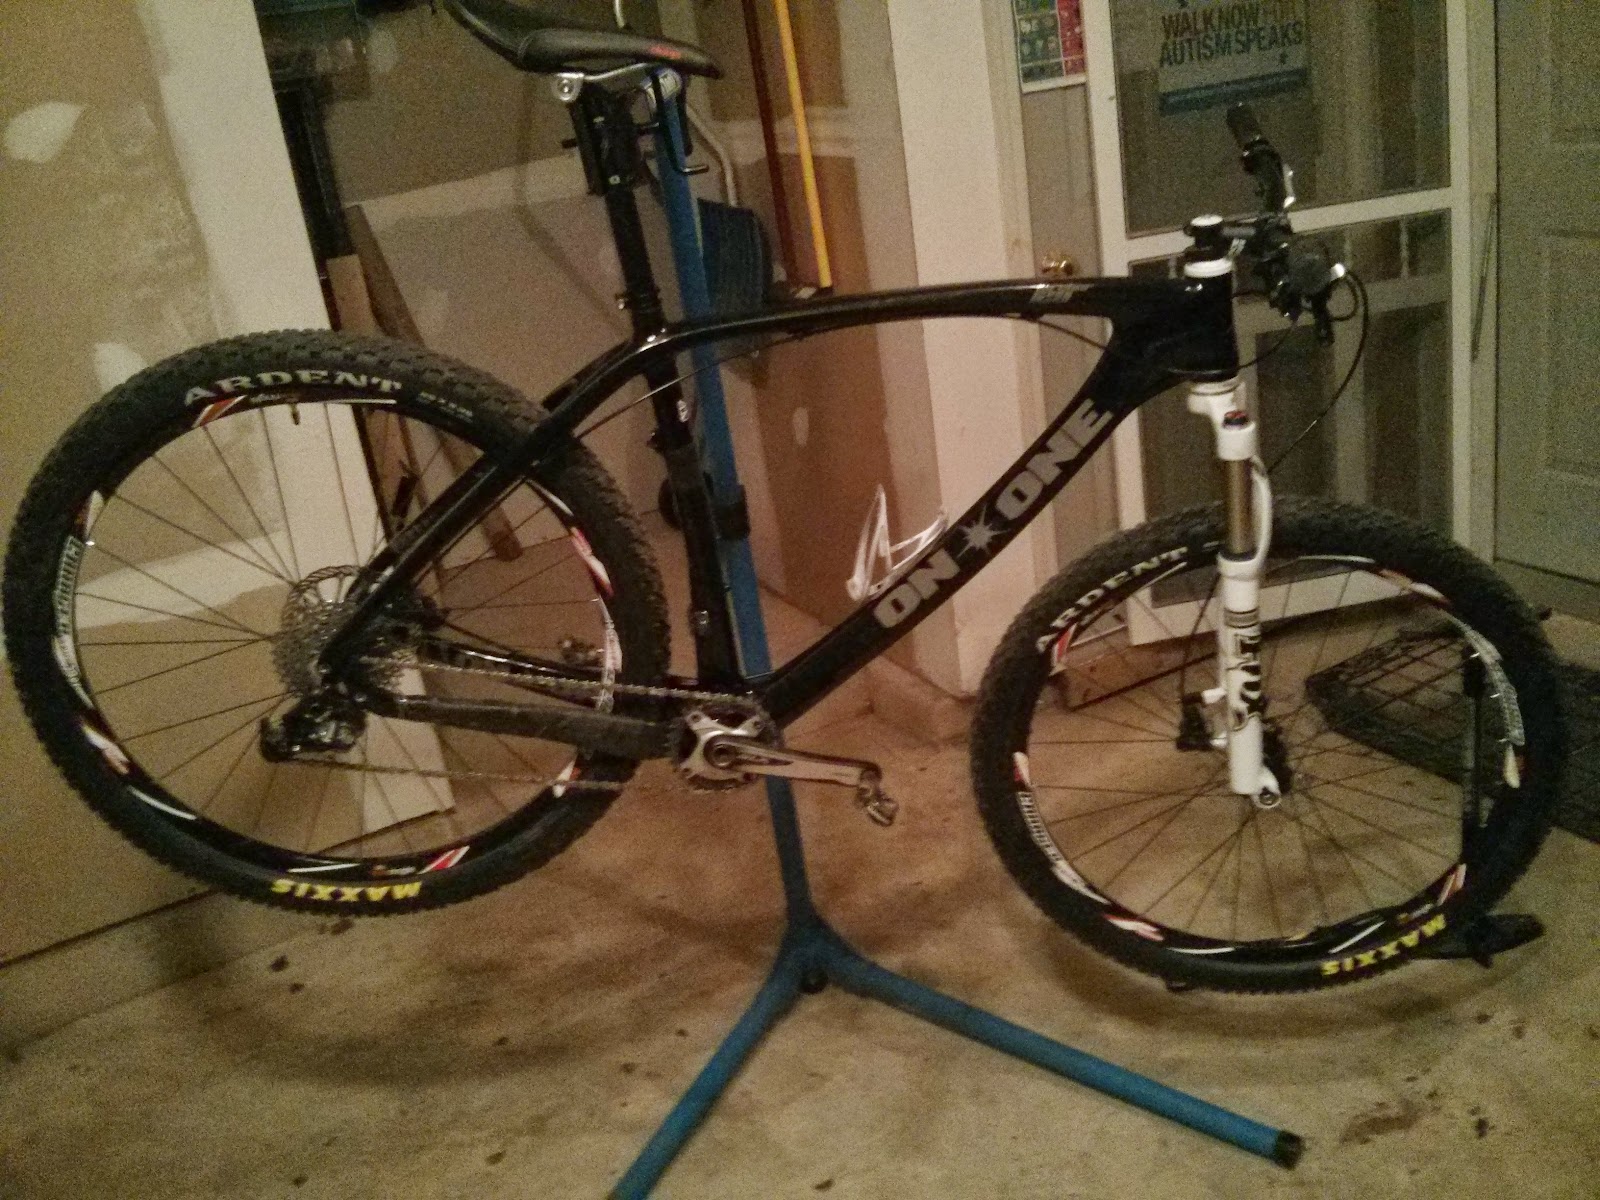
Here's a few snaps of the build:
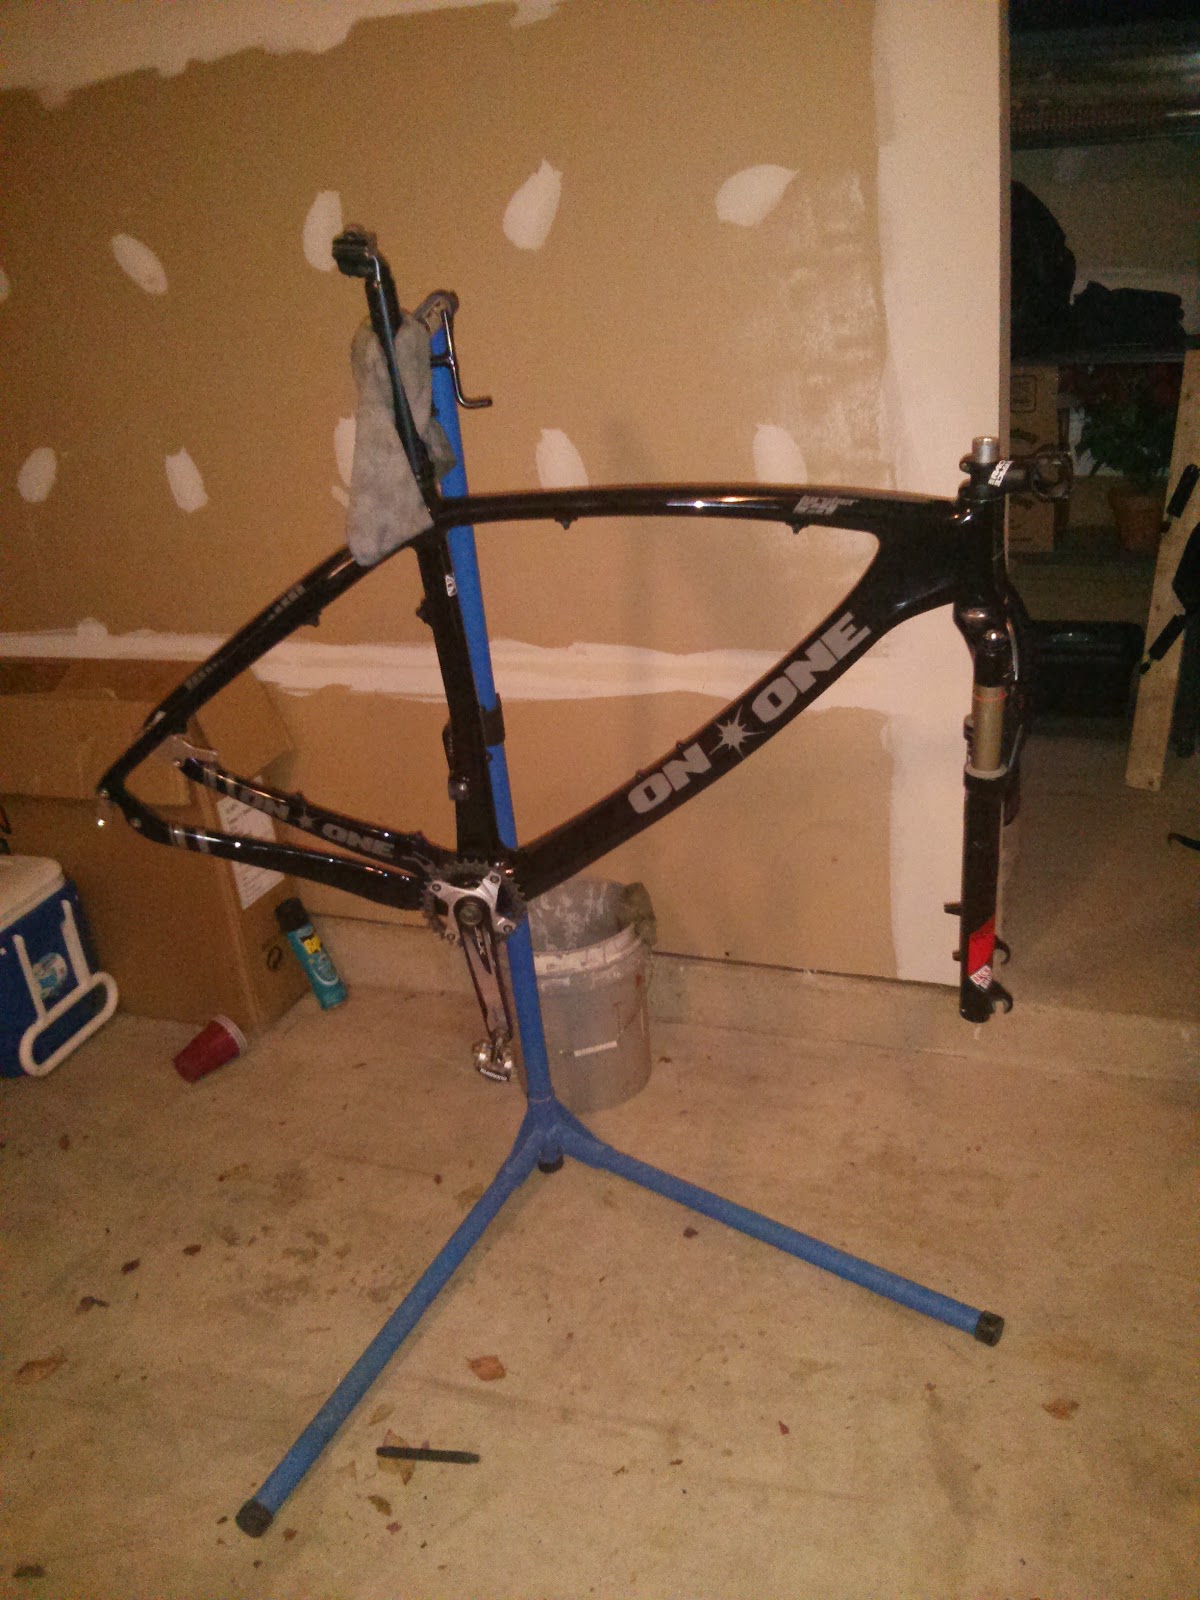 |
| Crankset on, mocked up with some spare forks |
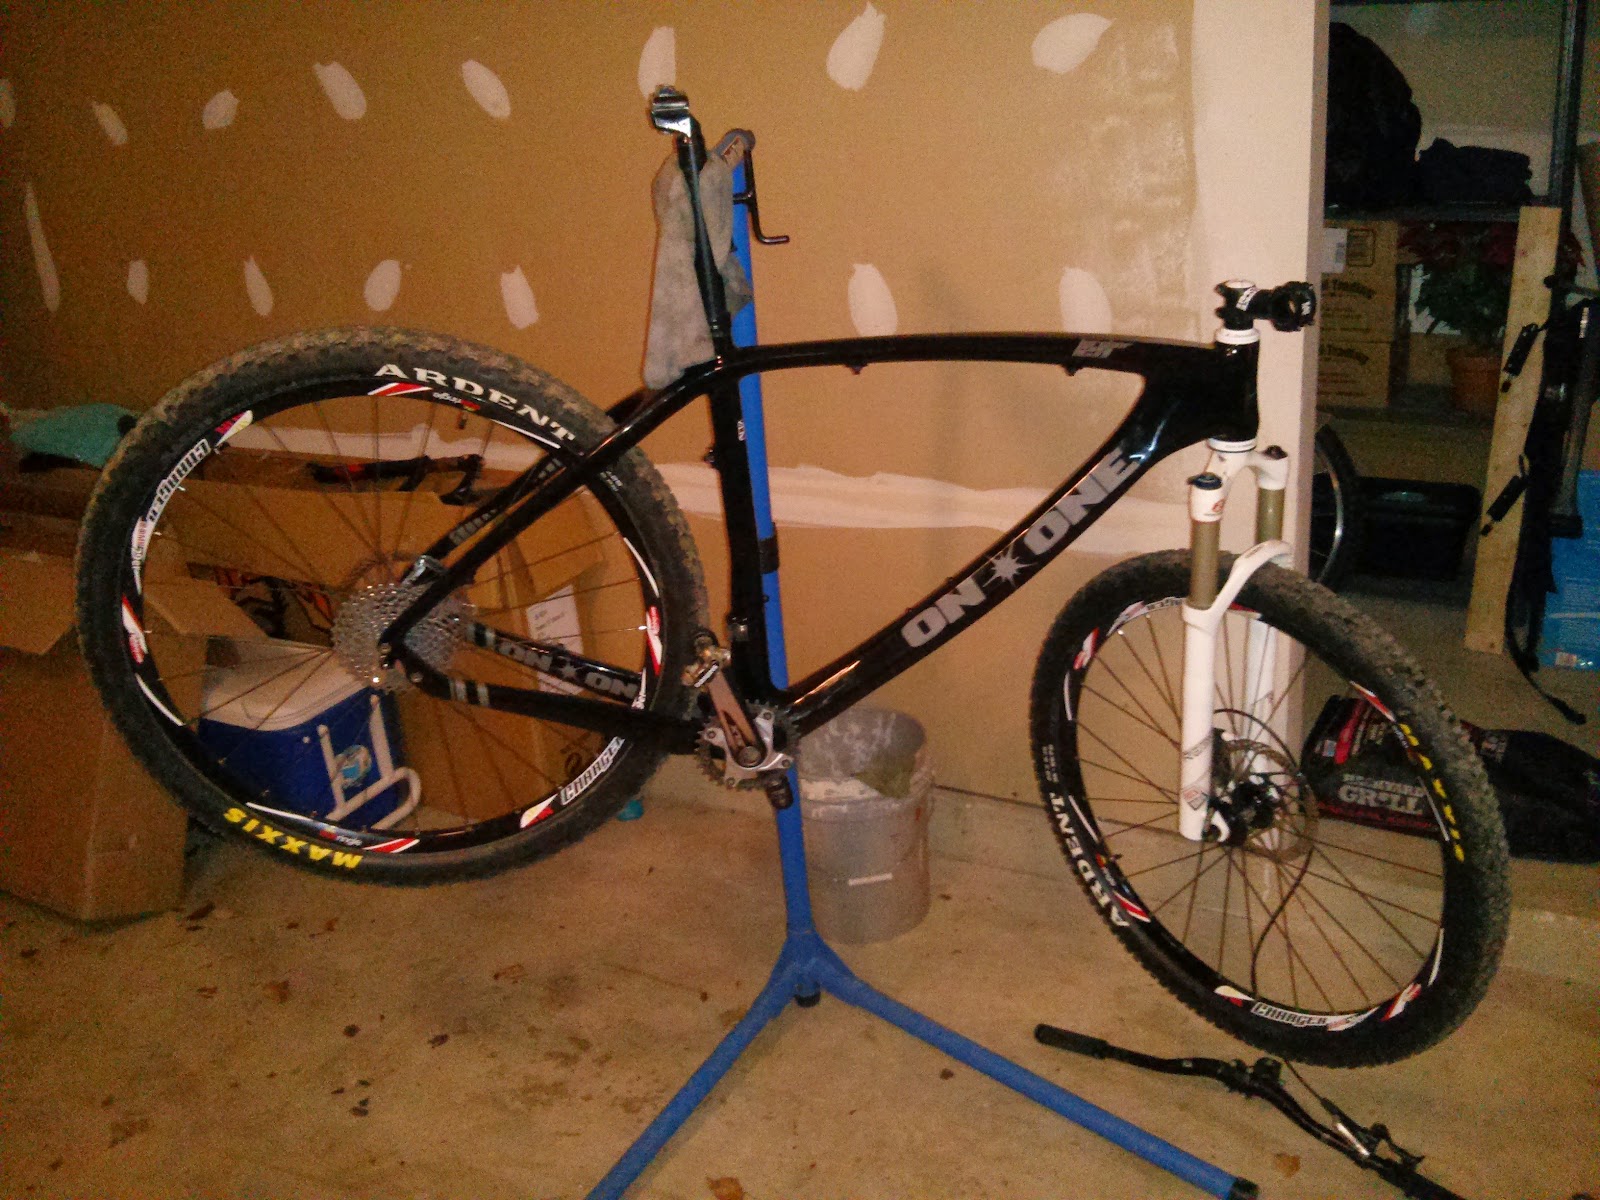 |
| Halfway there |
 |
| Finished and ready to ride |
I do want to try and get some forks with a tapered steerer and hopefully a 15mm through axle to stiffen up the front end however my Reba's have been solid servants for me so that's a project for another day.
Spec:
Frame: On-One Lurcher
Fork: Rockshox Reba RL
Headset: On-One Smoothie Mixer
Wheels: Sun Ringle Charger Comp
Tires: Maxxis Ardent 2.25
BB: Token Pressfit
Crankset: Shimano SLX
Rear Derailleur: SRAM X9
Shifter: SRAM X7
Pedals: Shimano M520 SPD
Brakes: Shimano Deore M615
Stem: Race Face Ride 70mm
Bars: Crankbrothers
Seatpost: Crankbrothers
Seat: Charge Spoon
Seatpost Clamp: Niner
Grips: On-One Bob On Lock On
Front Rotor: Shimano 180mm
Rear Rotor: Avid 160mm
The time had come for my 2 year lease on the Ford Escape to end. Whilst leasing served its purpose, I was keen to get away from the monthly payments and get something a little higher spec/more luxury. Leather seats were a must as cloth seats and damp bike gear don't mix too well.
I wanted to stick with the versatility of a similar sized SUV and budgets meant that I'd be looking at cars from 2005 onward. I looked at the likes of the BMW X3 and other makes however for the money it was hard to look further than the LR2 and of course the desire to keep things British!
So here it is my 2008 LR2 SE 3.2 6 cyclinder: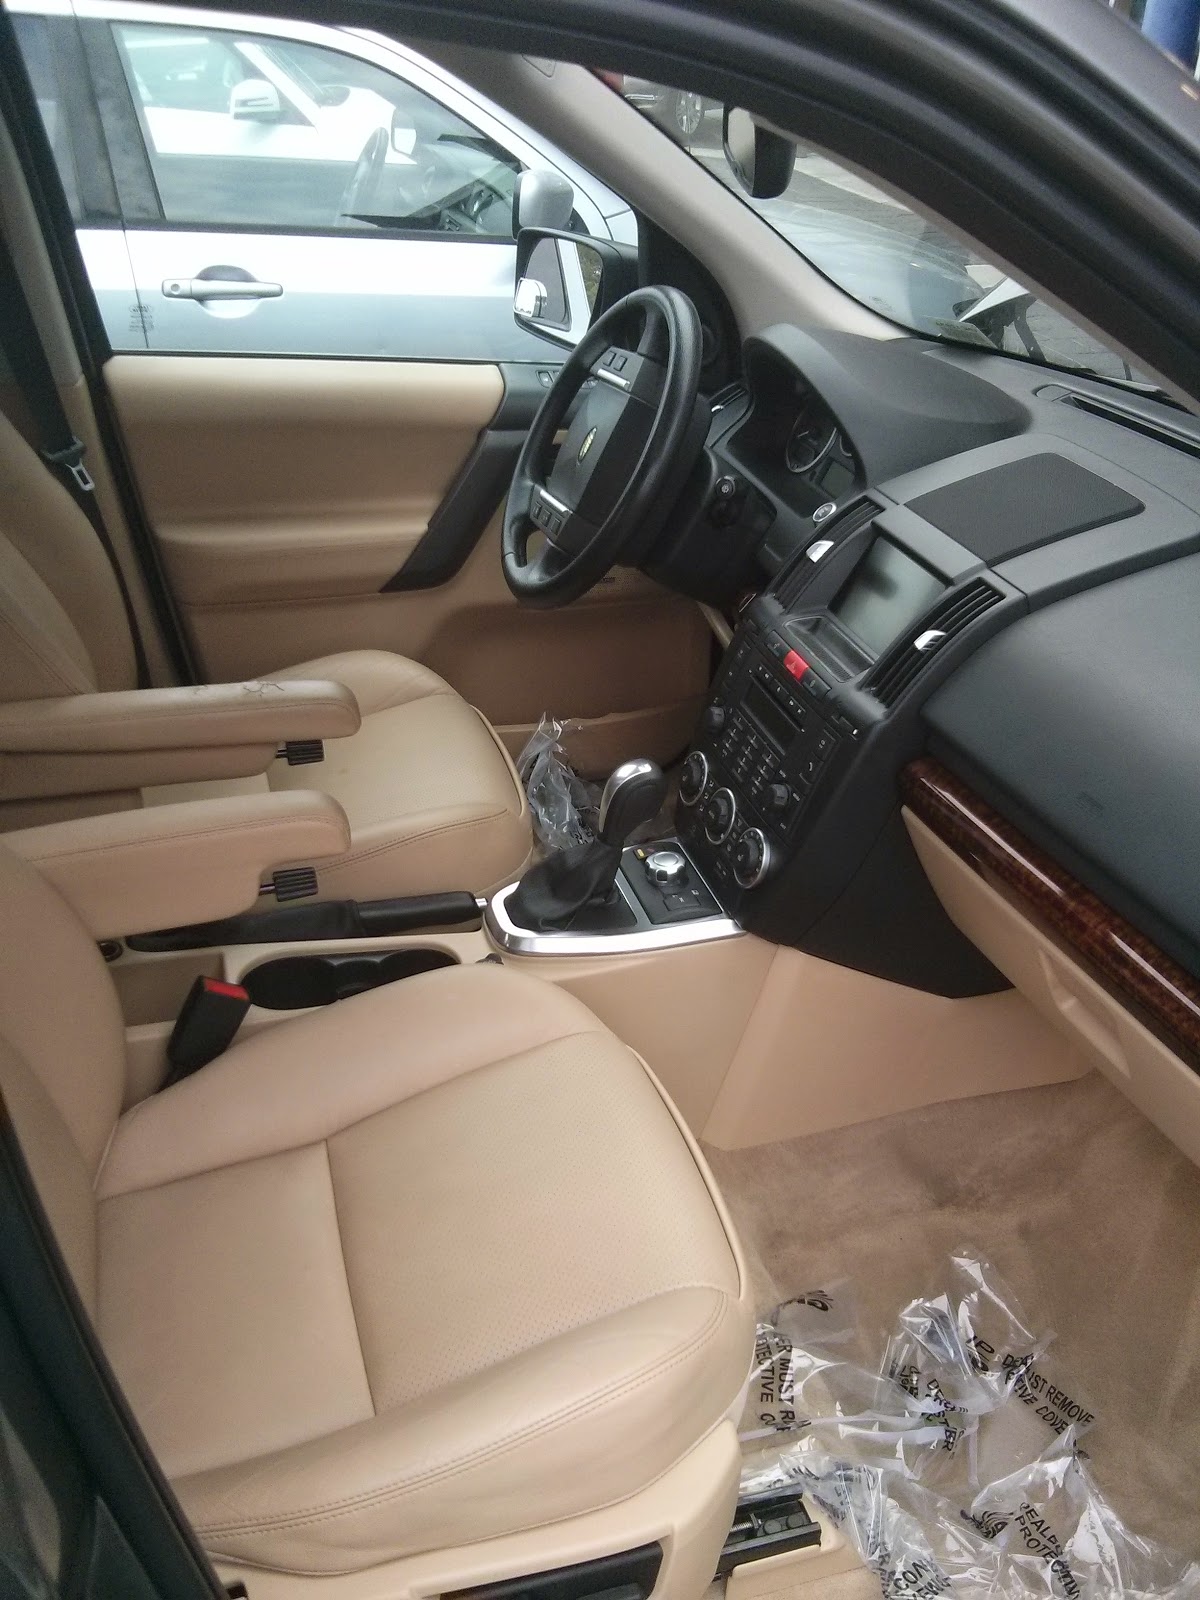